BuildChatbot.ai

BuildChatbot Zapier Integration

Trigger - Configure the BuildChatbot event from where the data needs to be fetched.

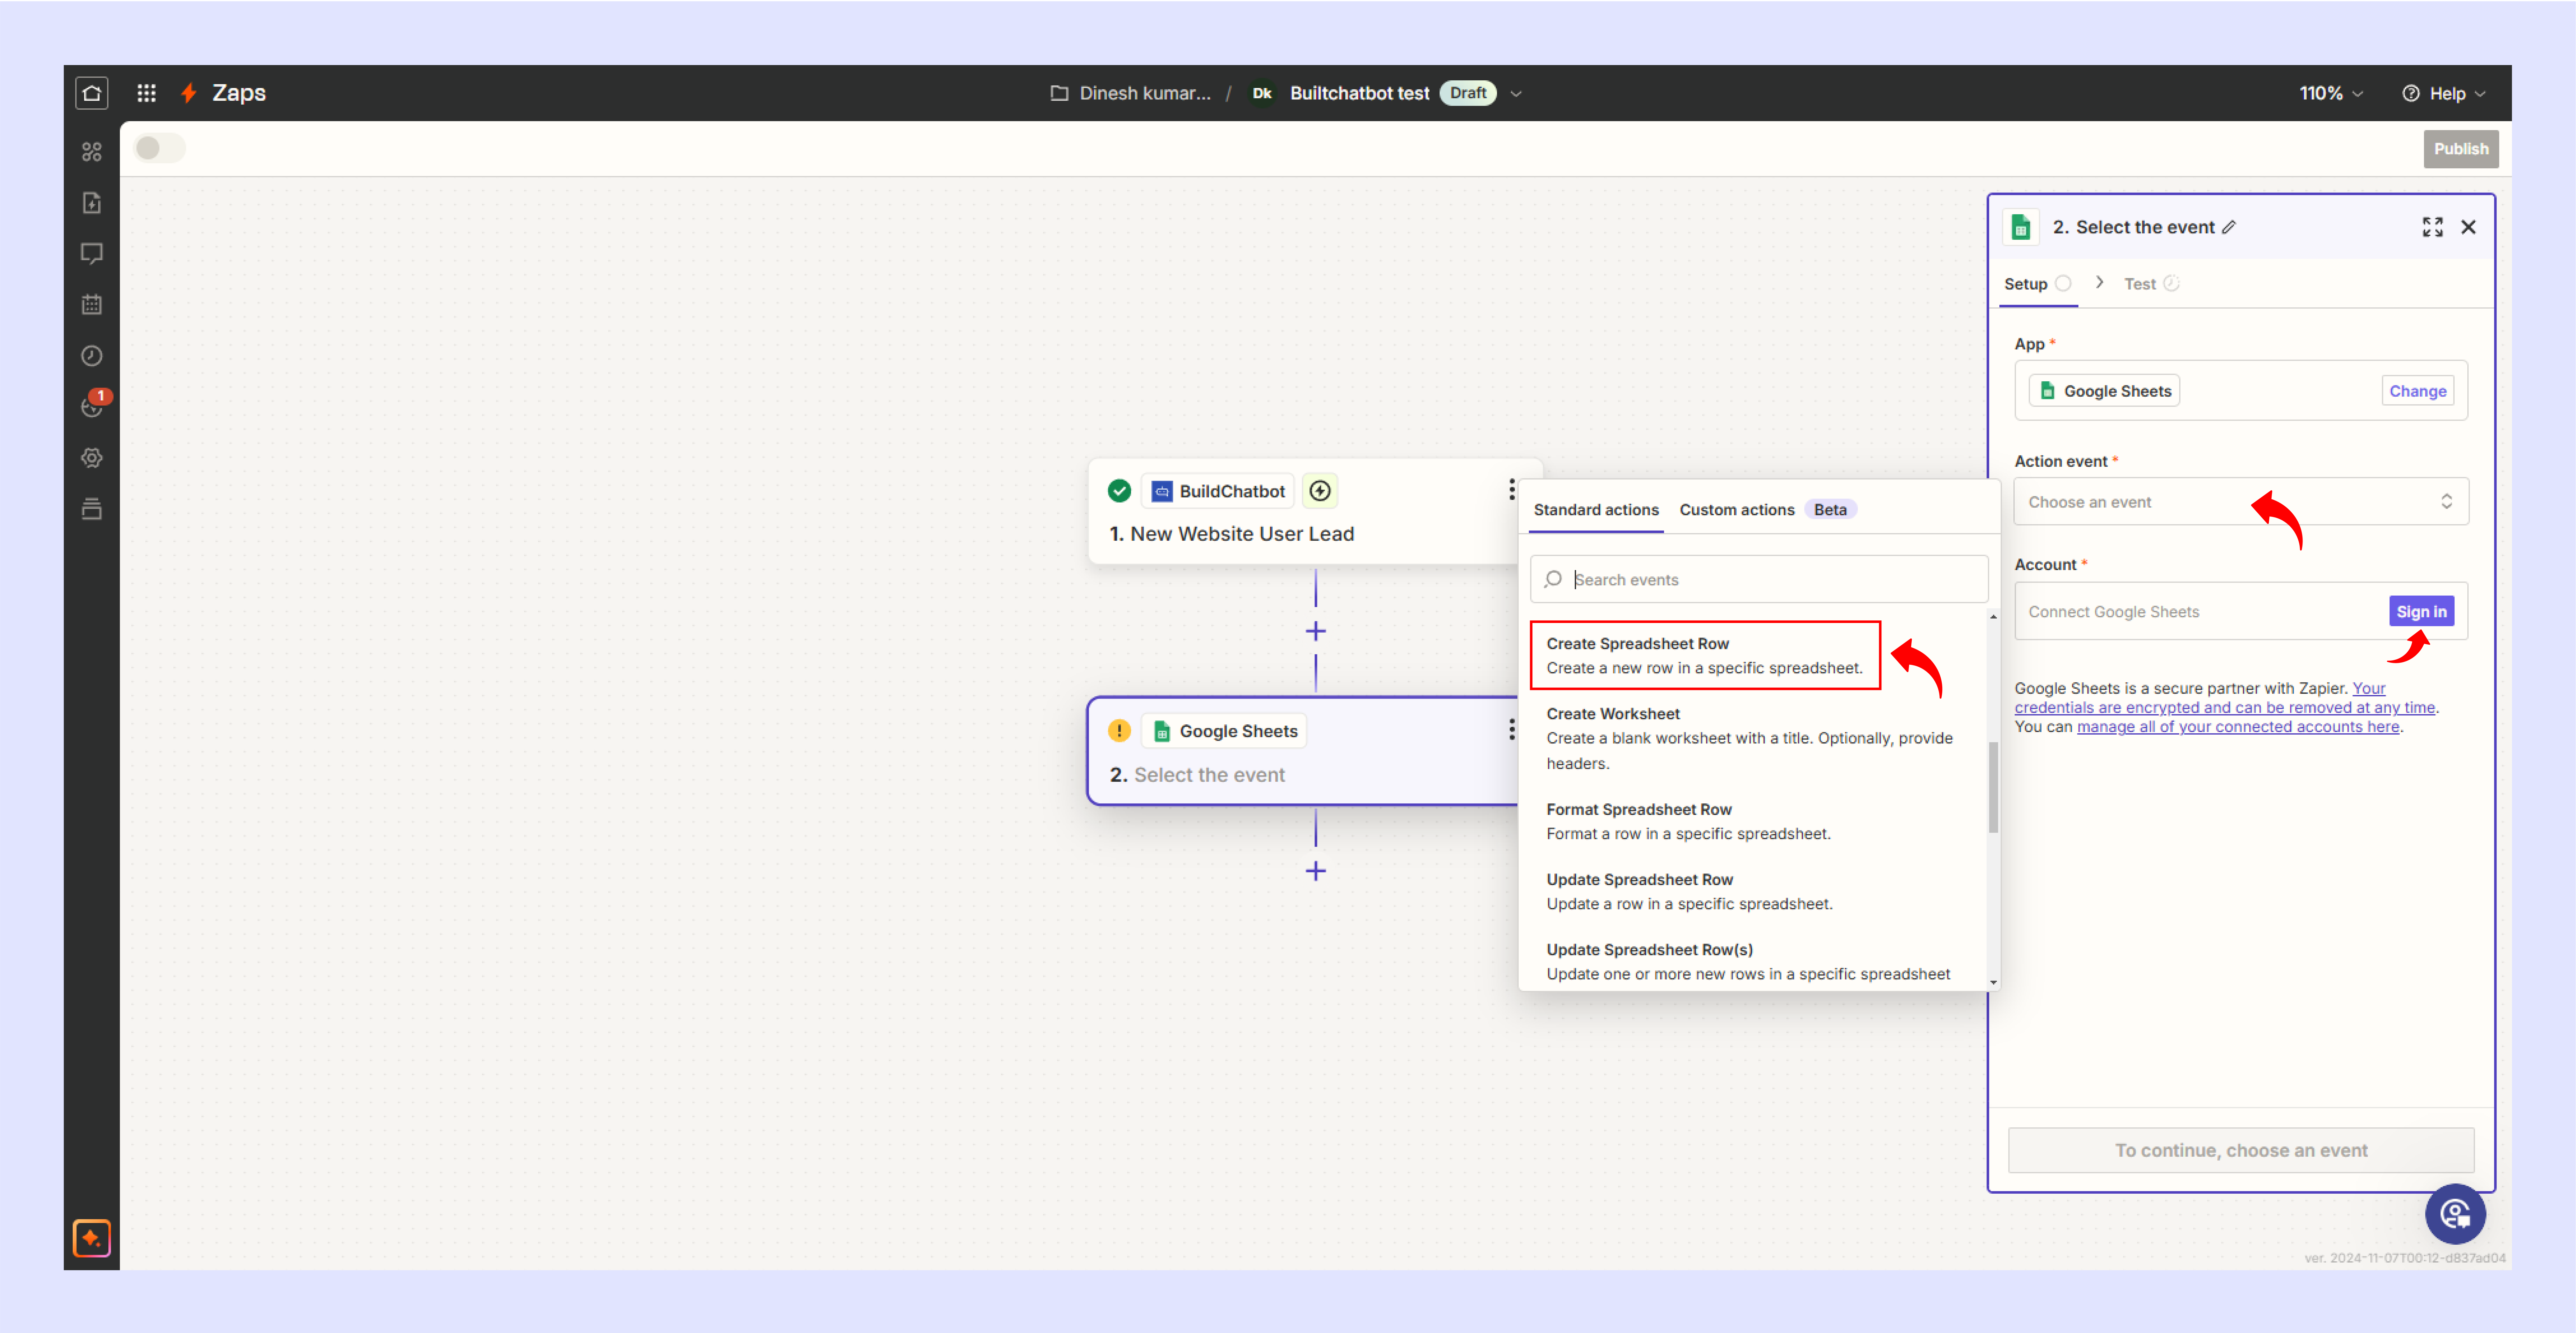
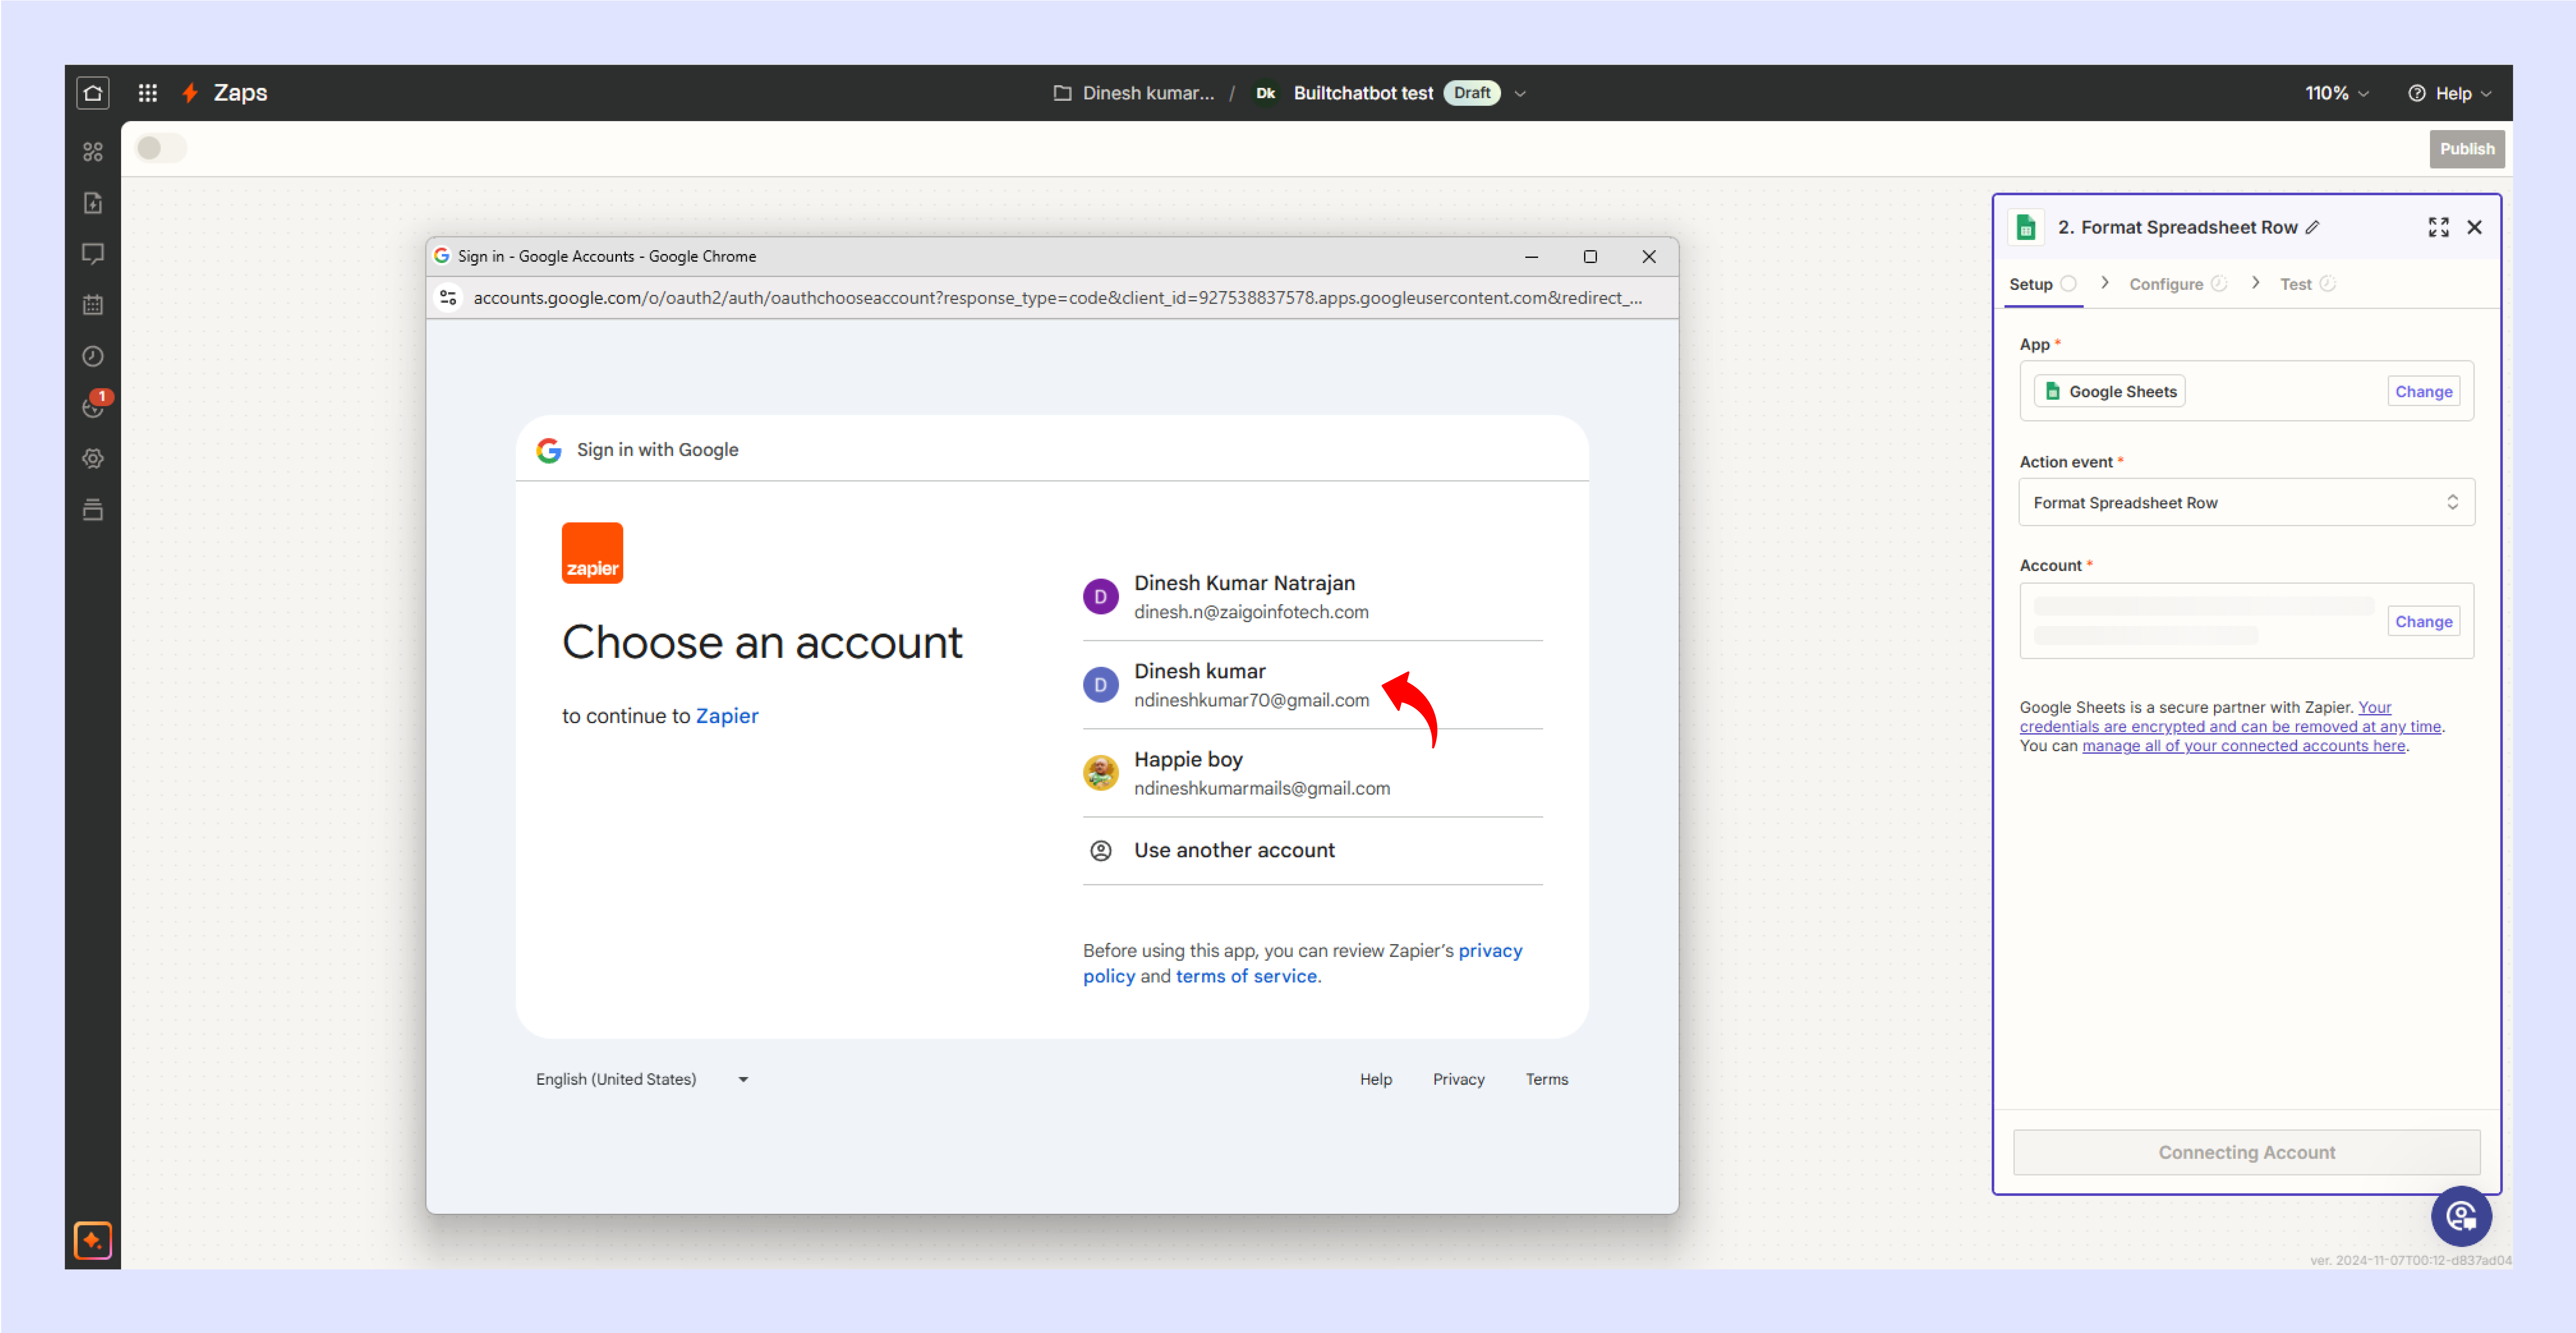
Action - Send the BuildChatbot event data to popular applications(gmail, gsheet, etc).

Trigger Configuration

STEP 1

Create a tenant account in https://buildchatbot.ai

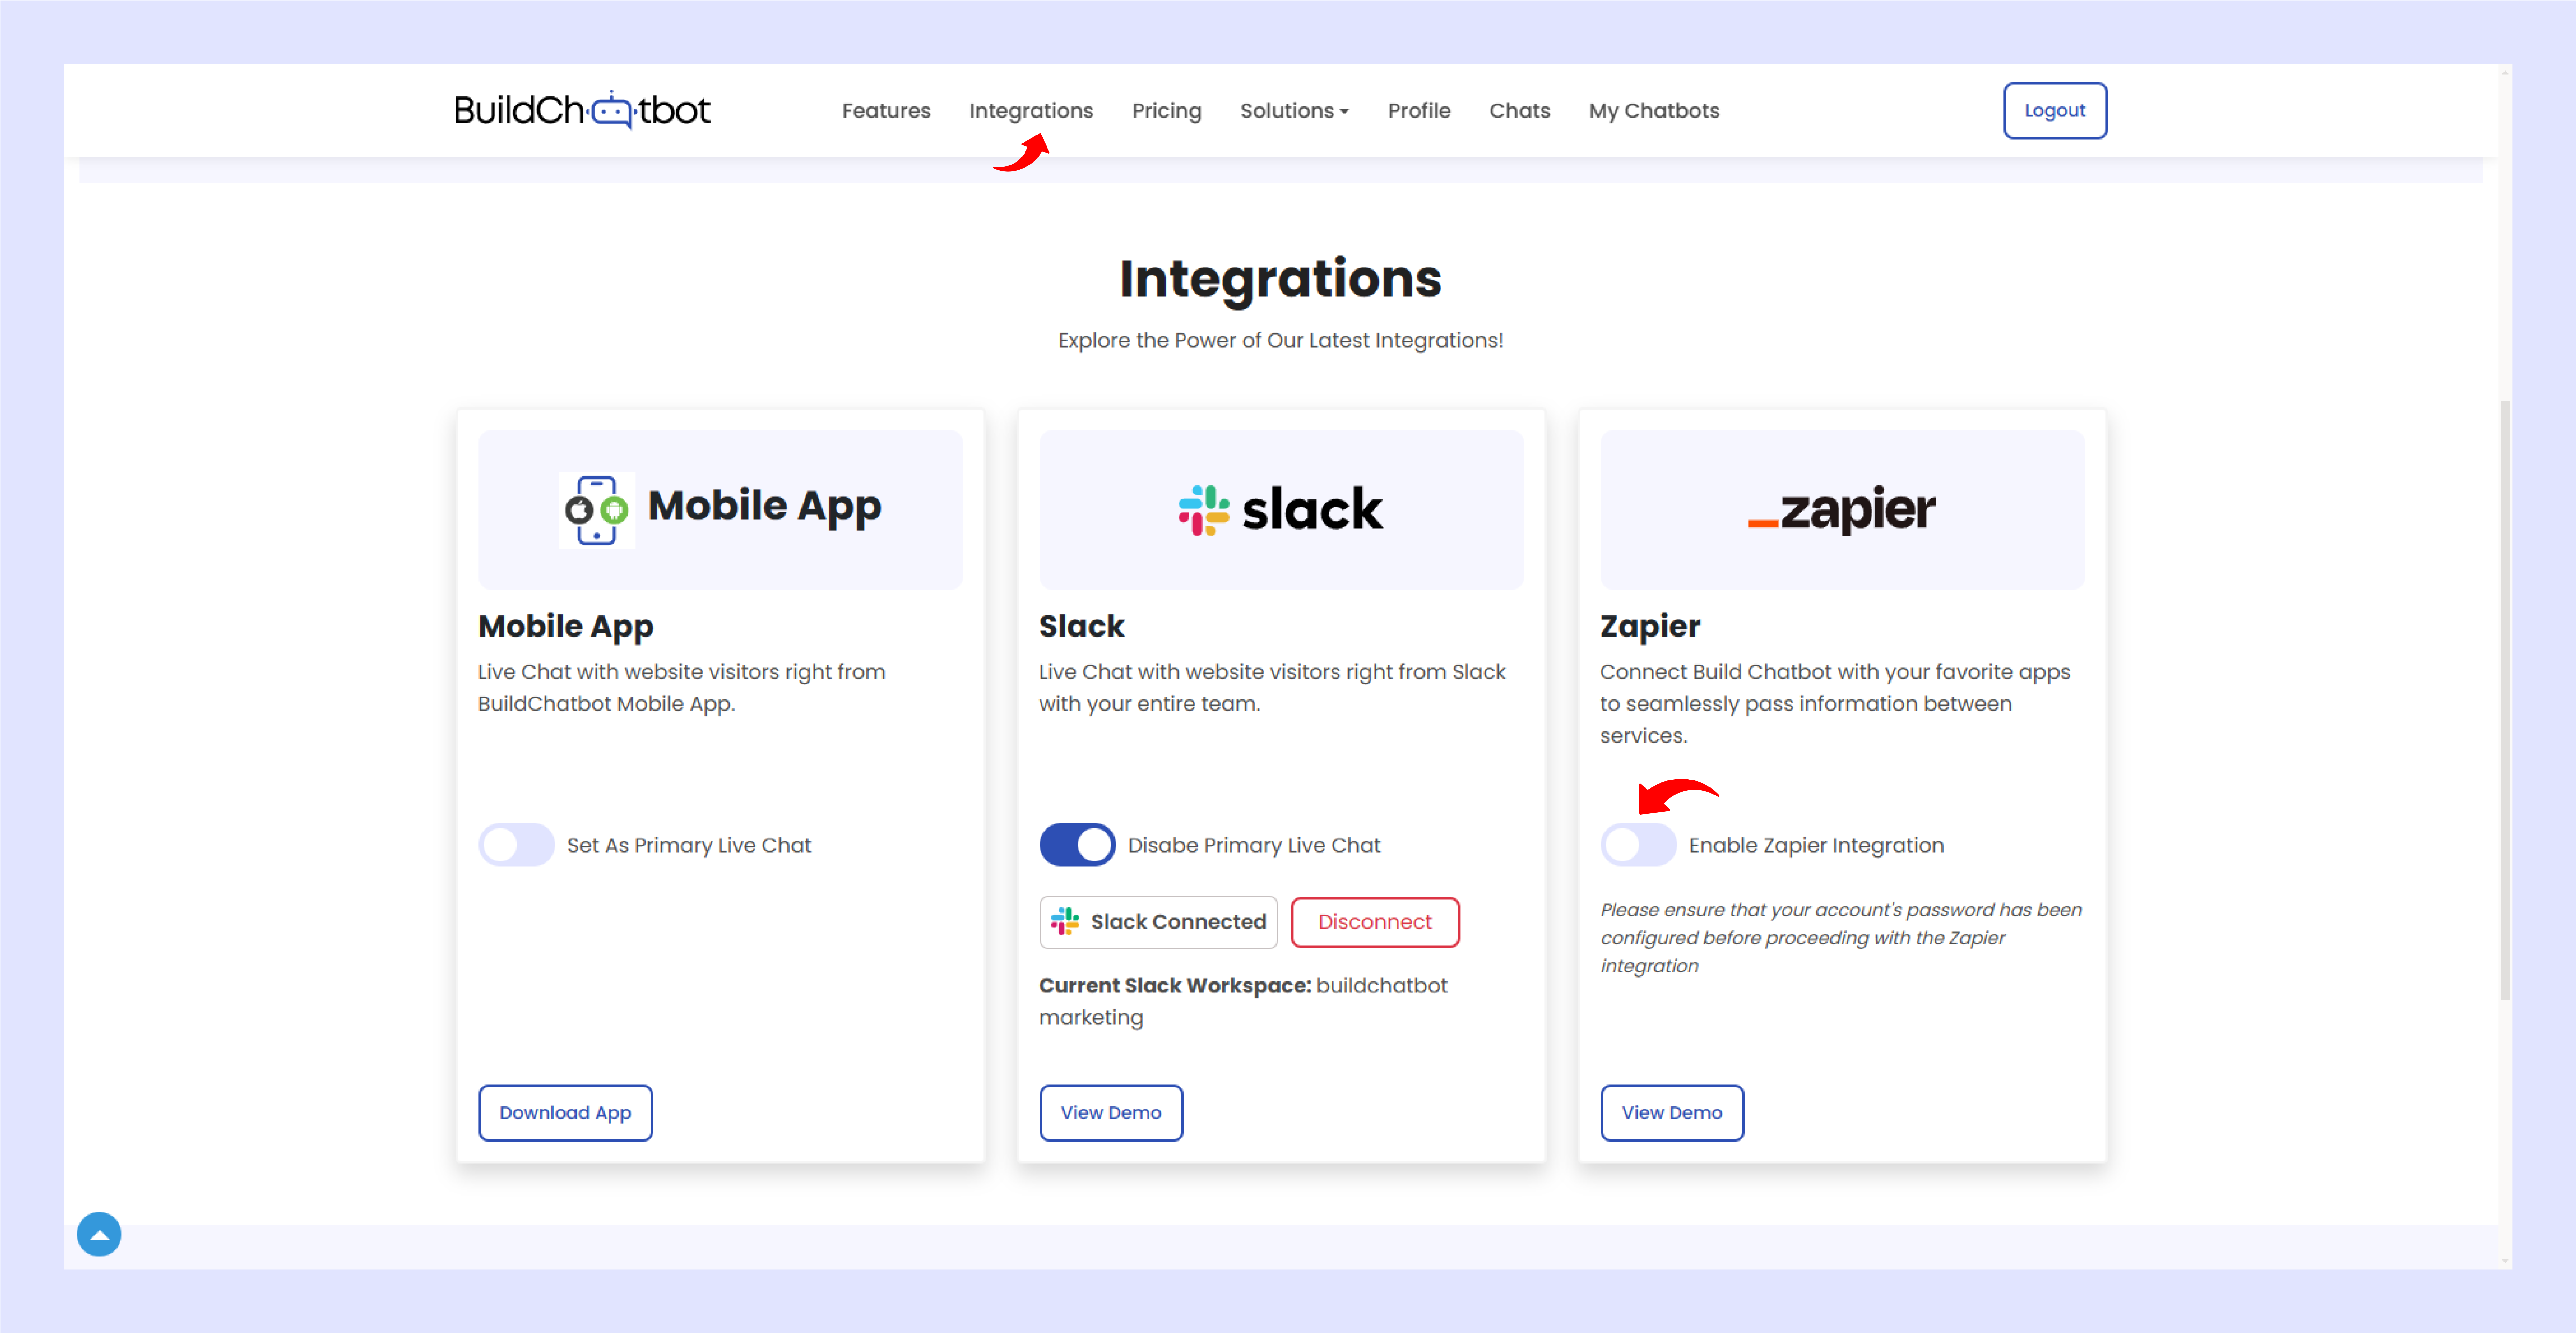
STEP 2

(Note: Make sure Password is updated to the account before enabling Zapier)

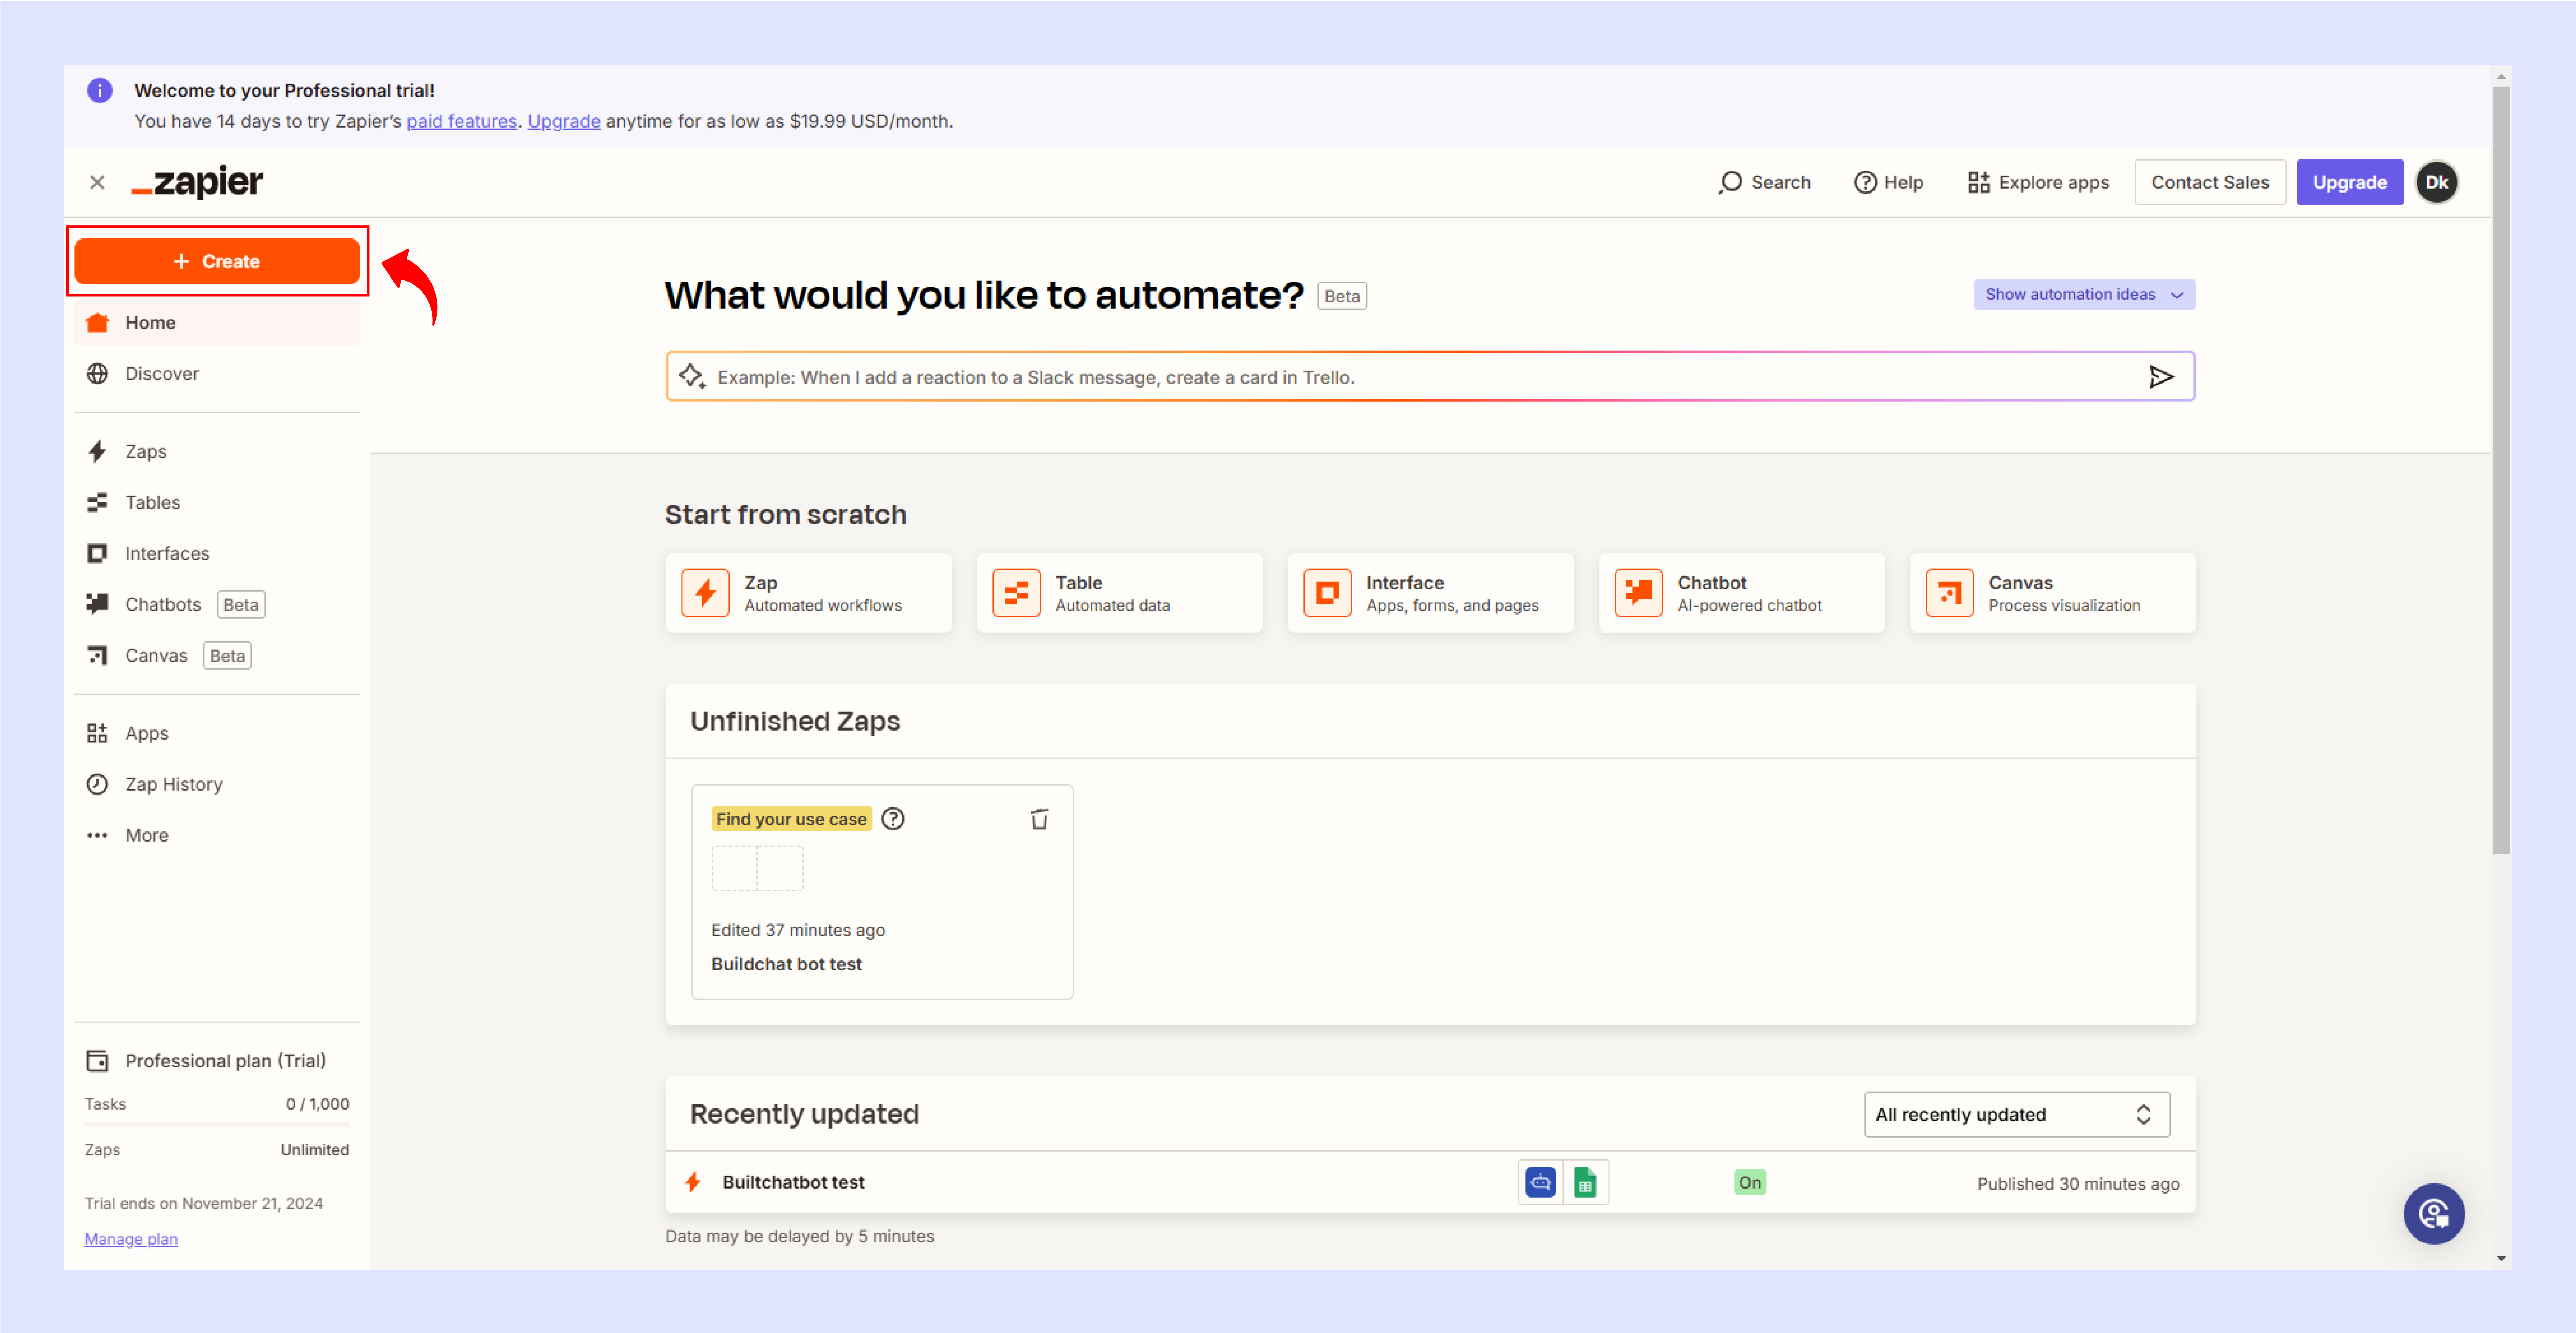
STEP 3

Create a account in zapier

STEP 4

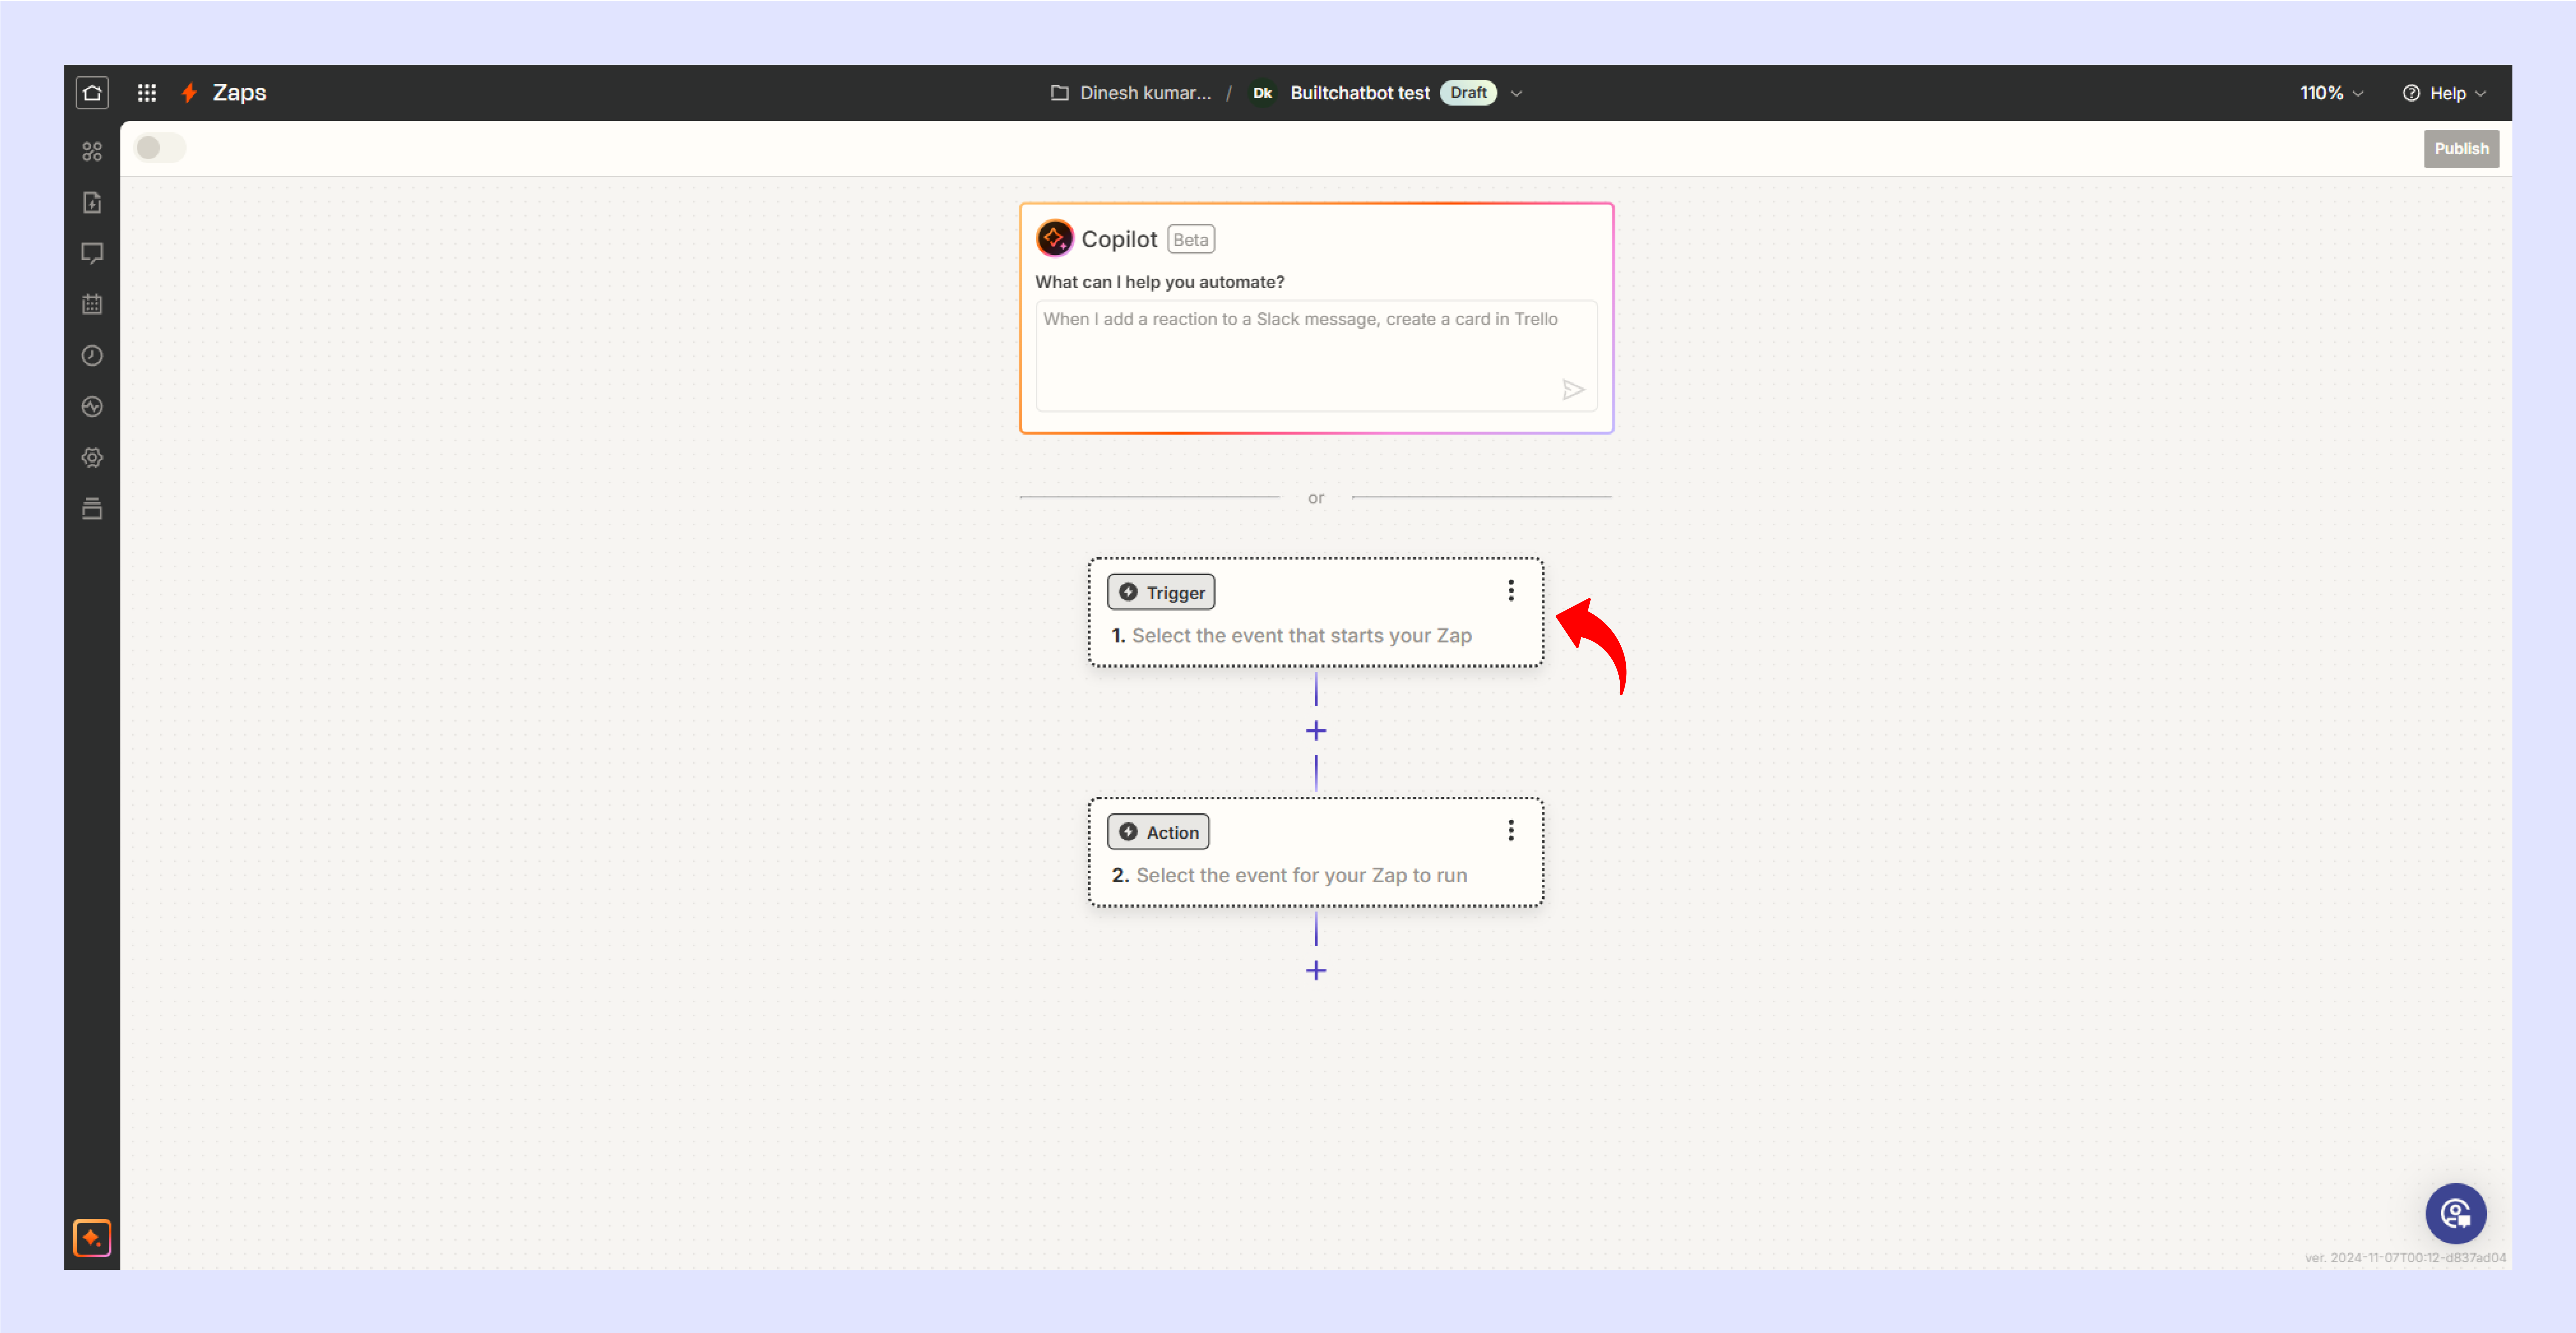
Create a new Zap on Zapier.

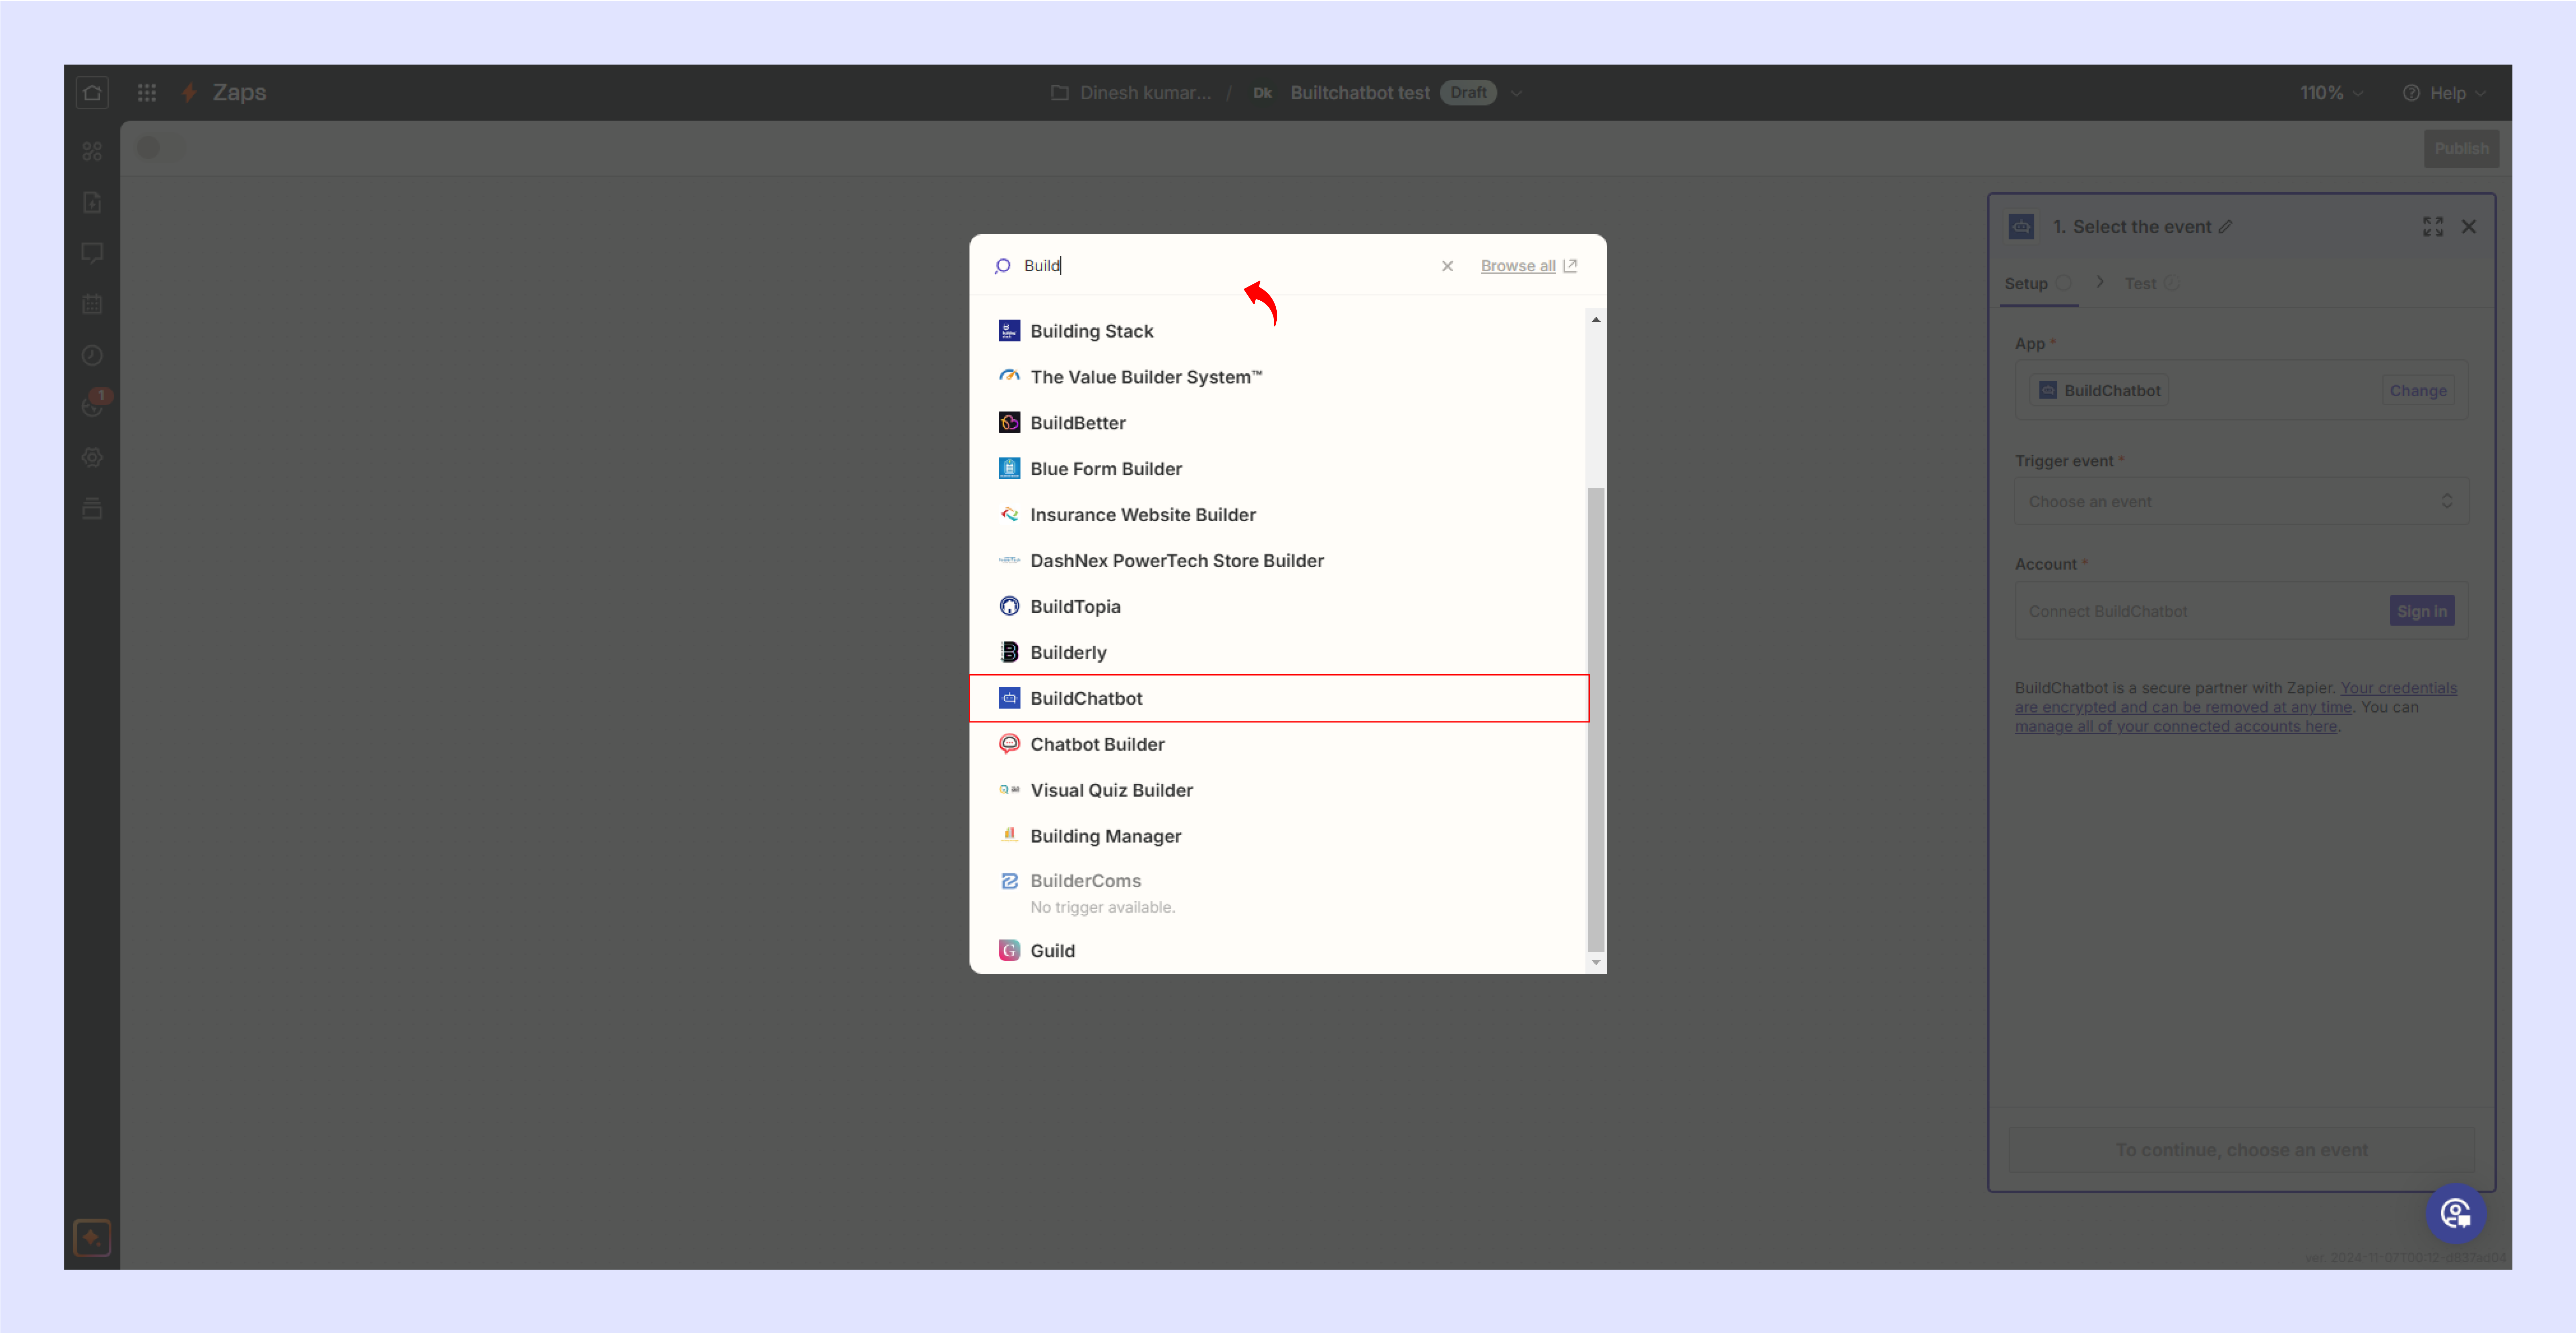
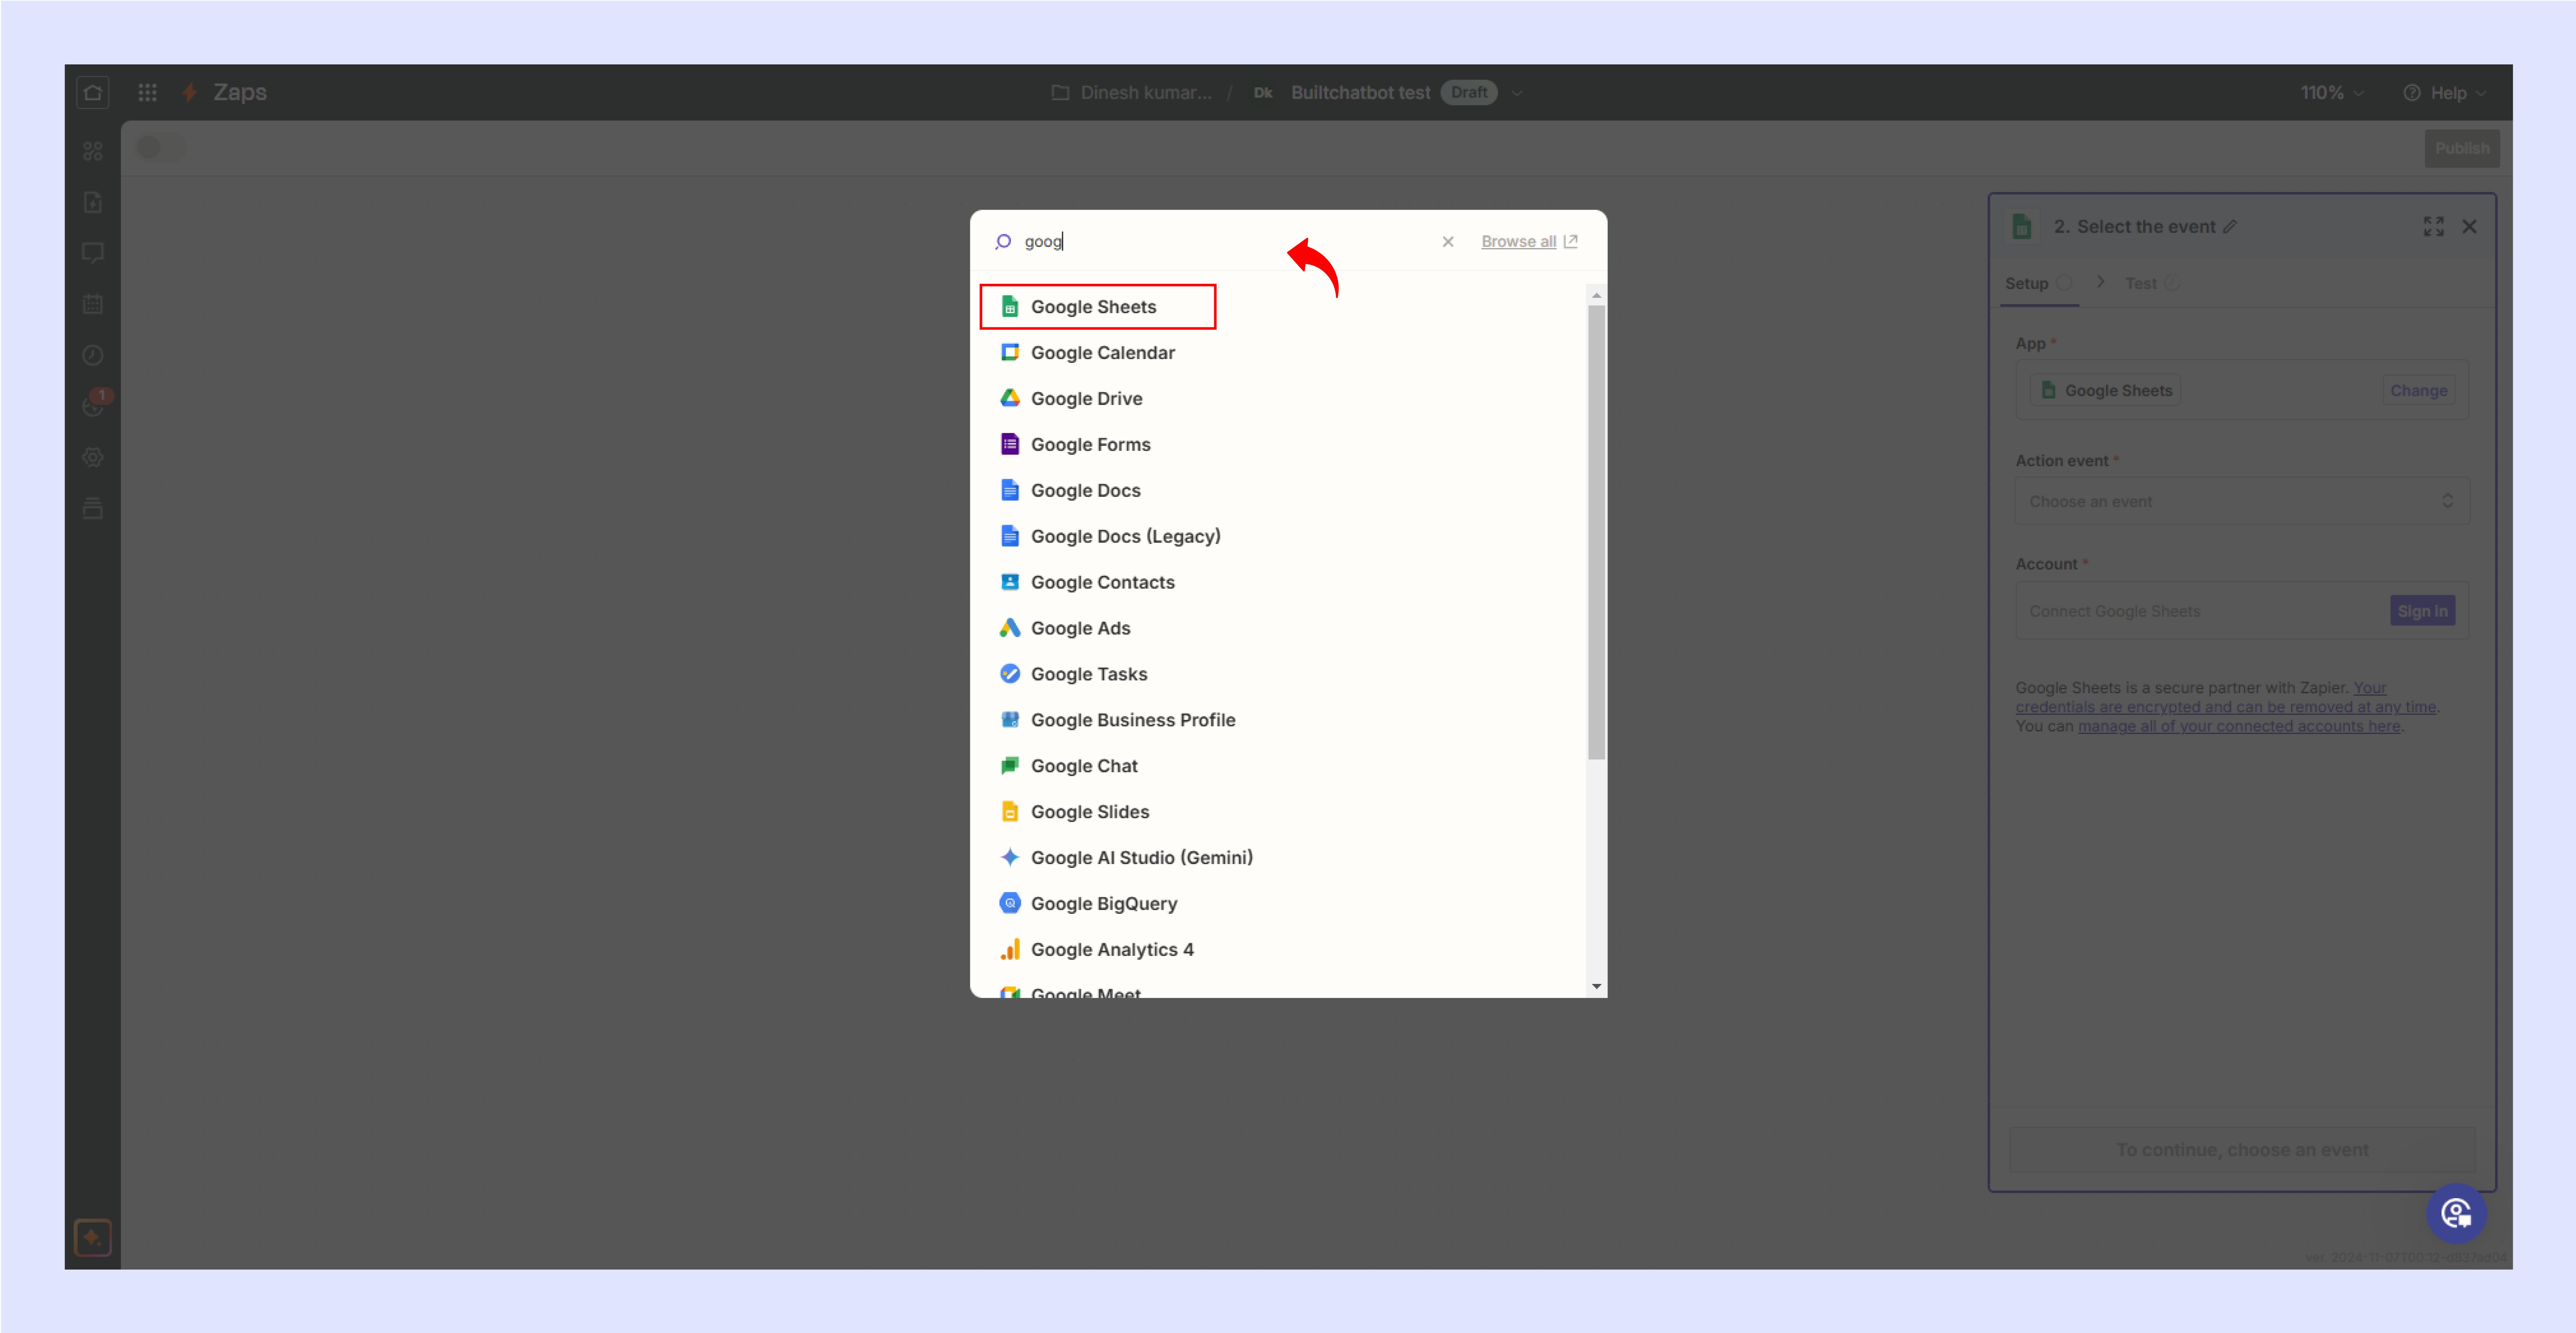
Click Trigger & search for BuildChatbot.

STEP 5

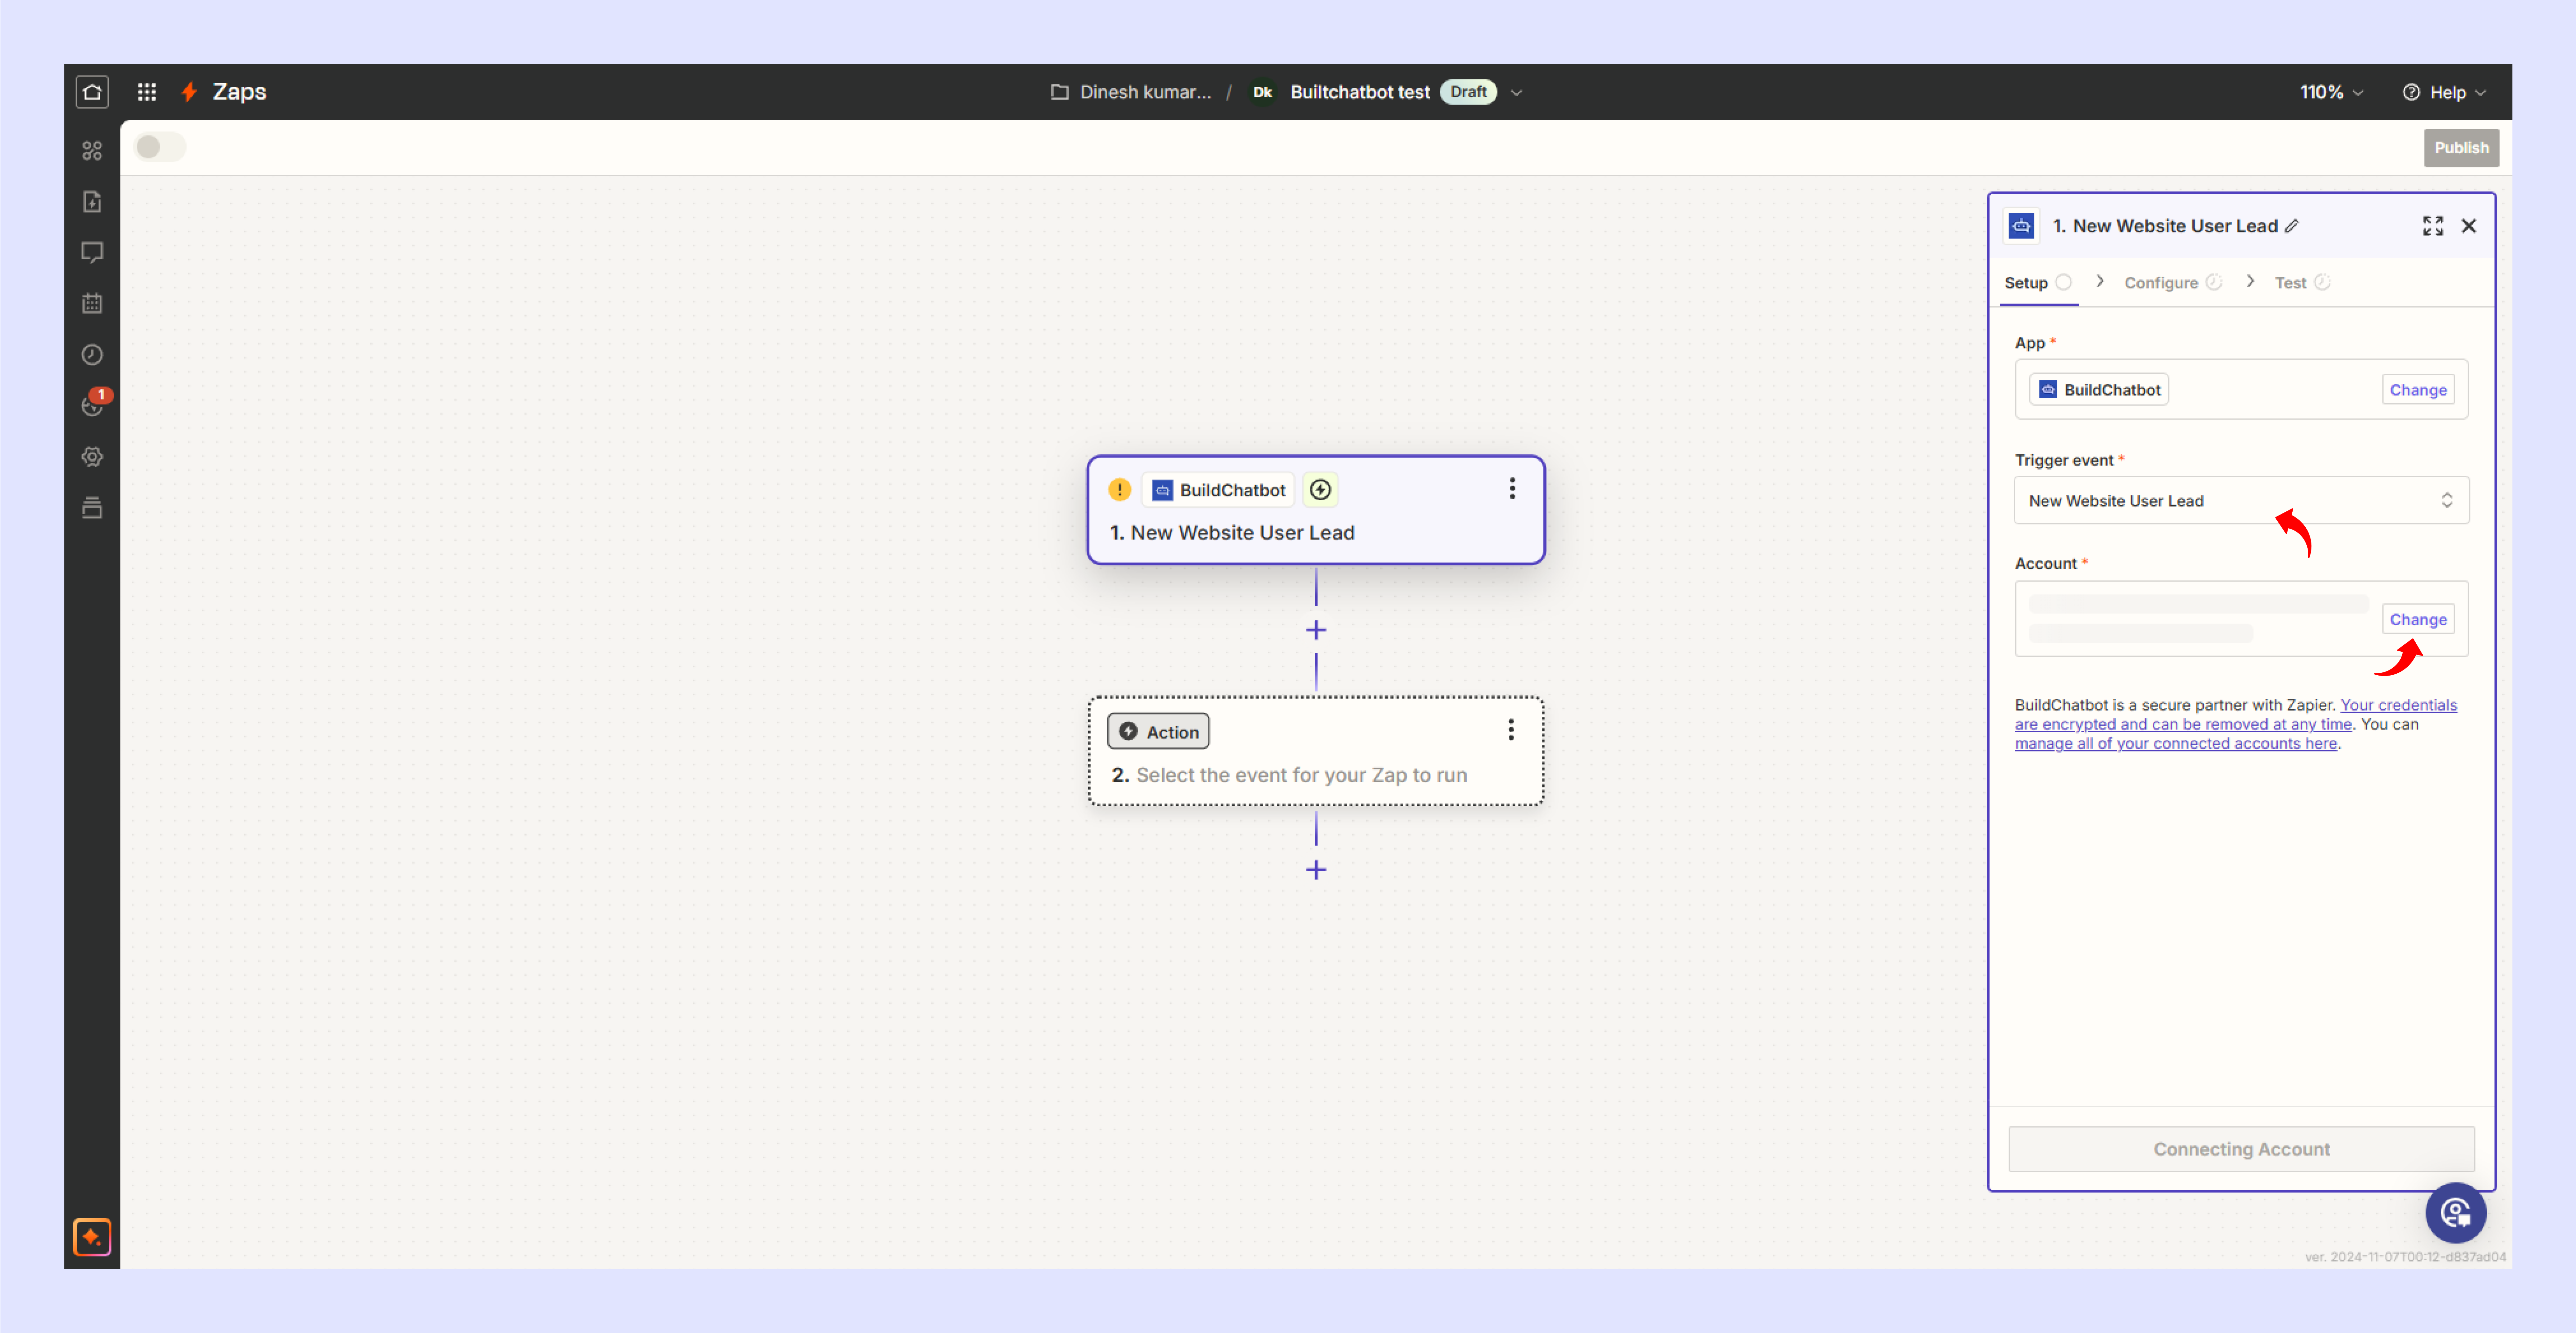
App & event: Select Event from the dropdown & click Continue.

STEP 6

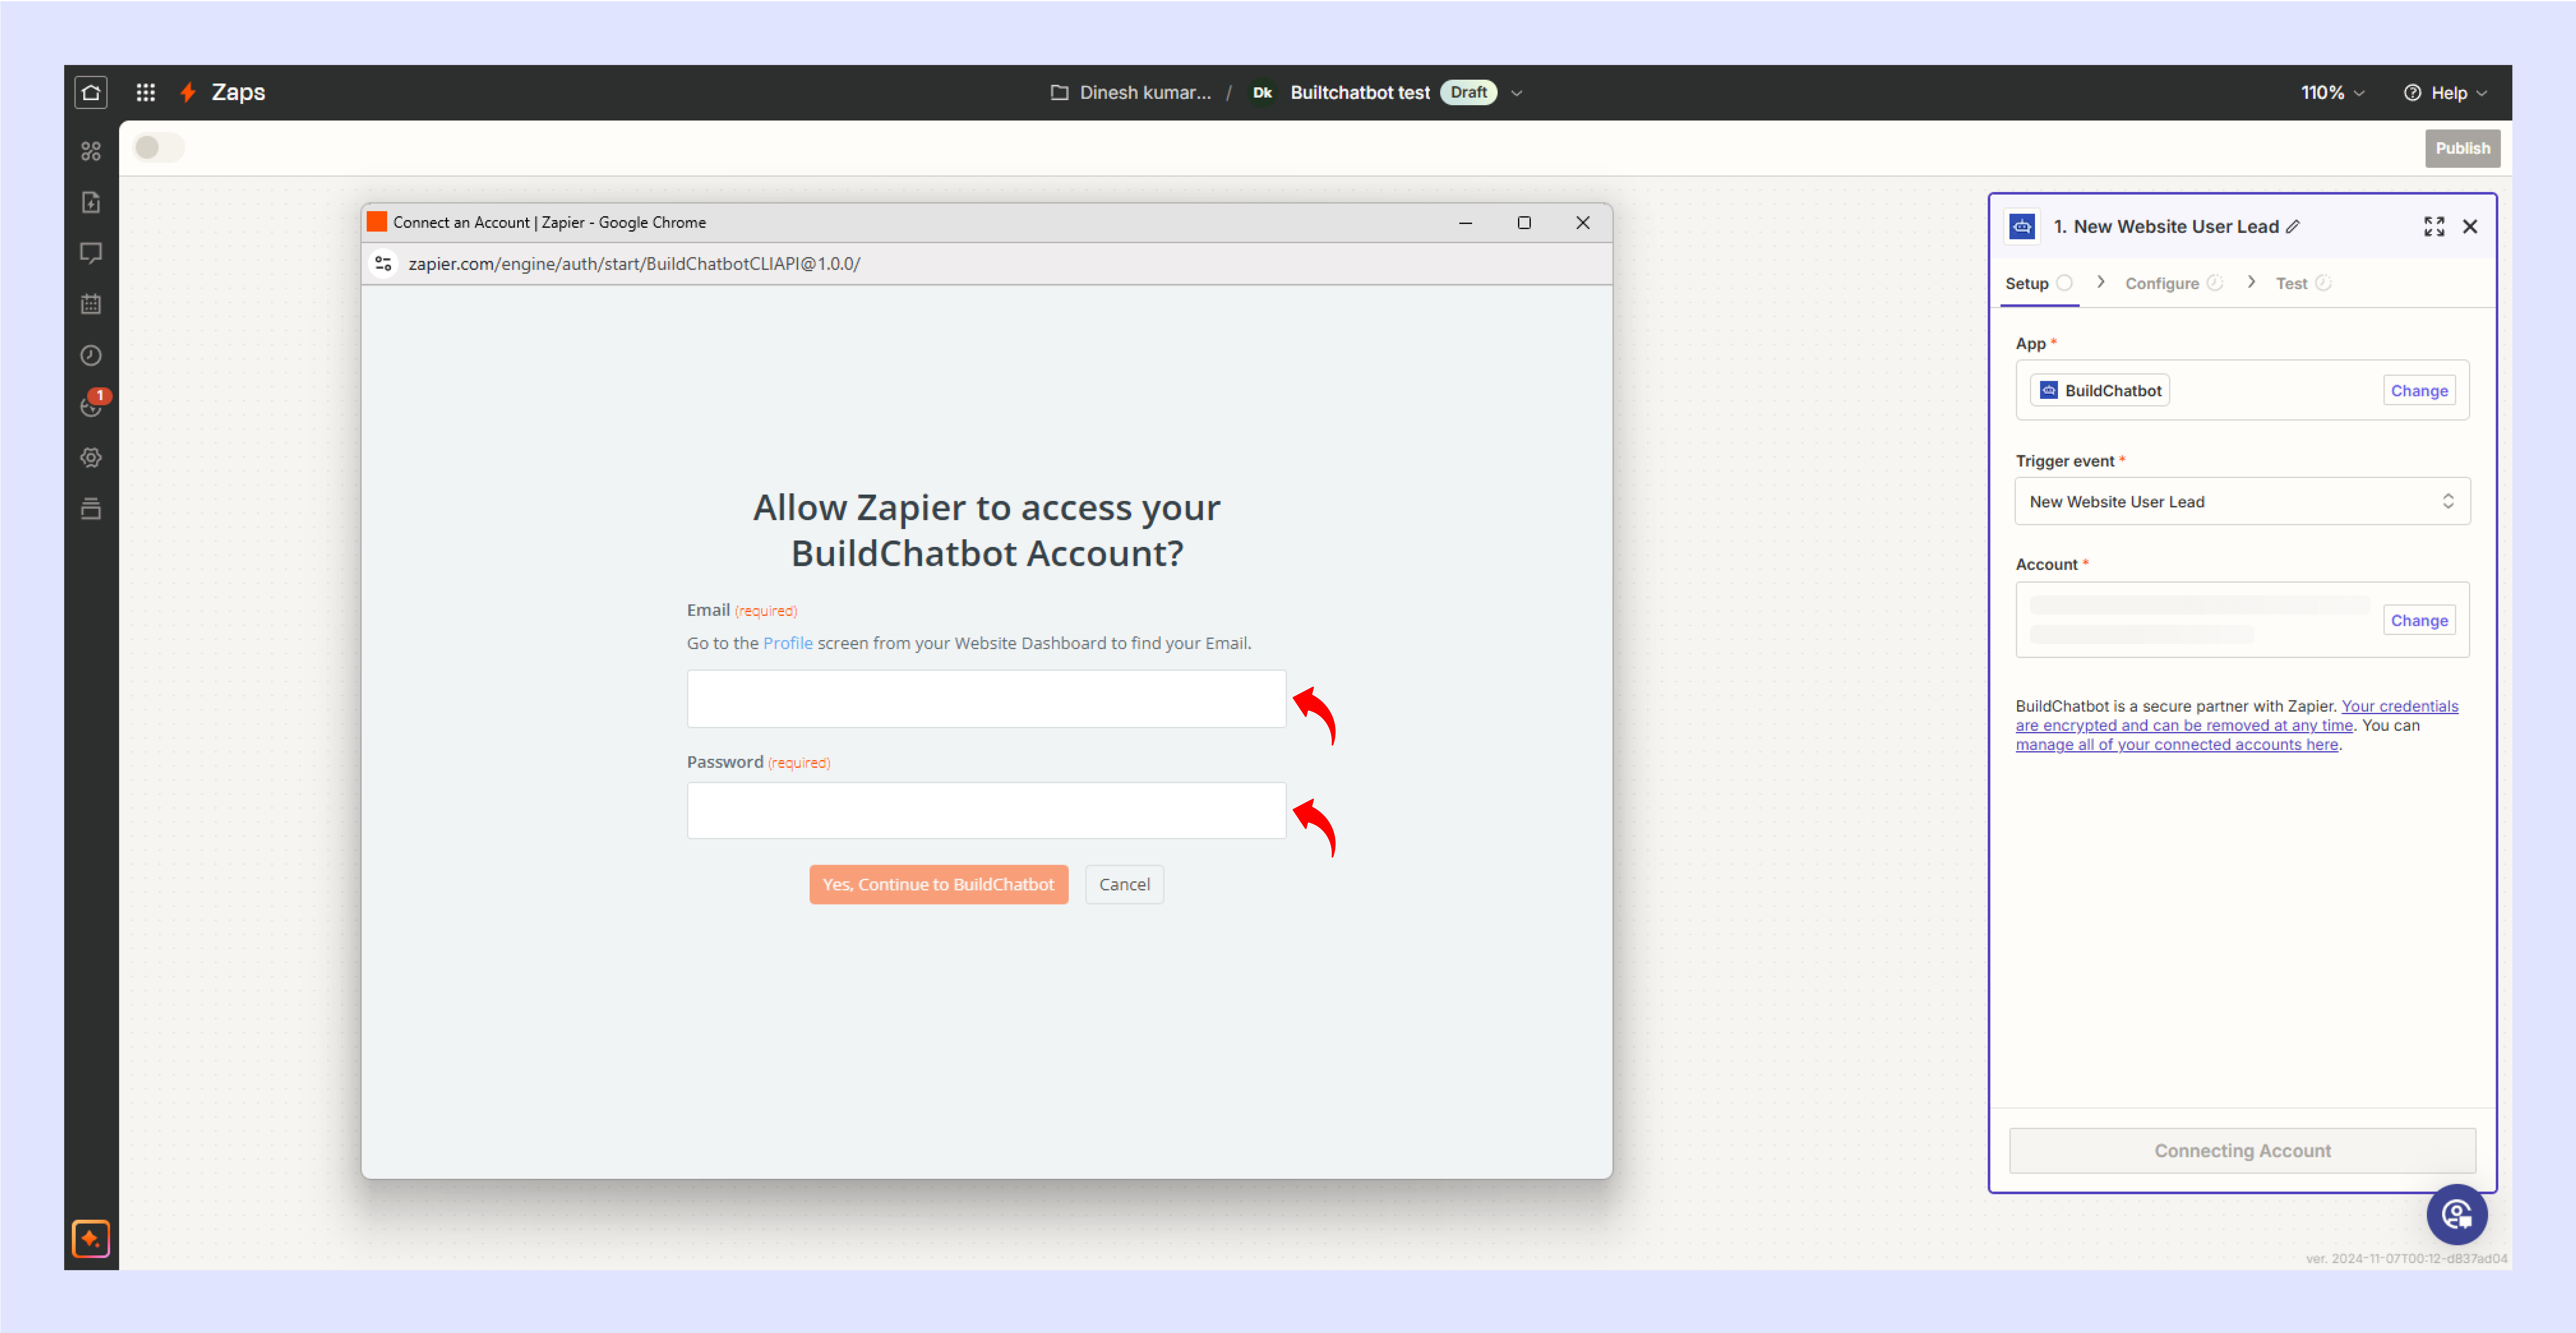
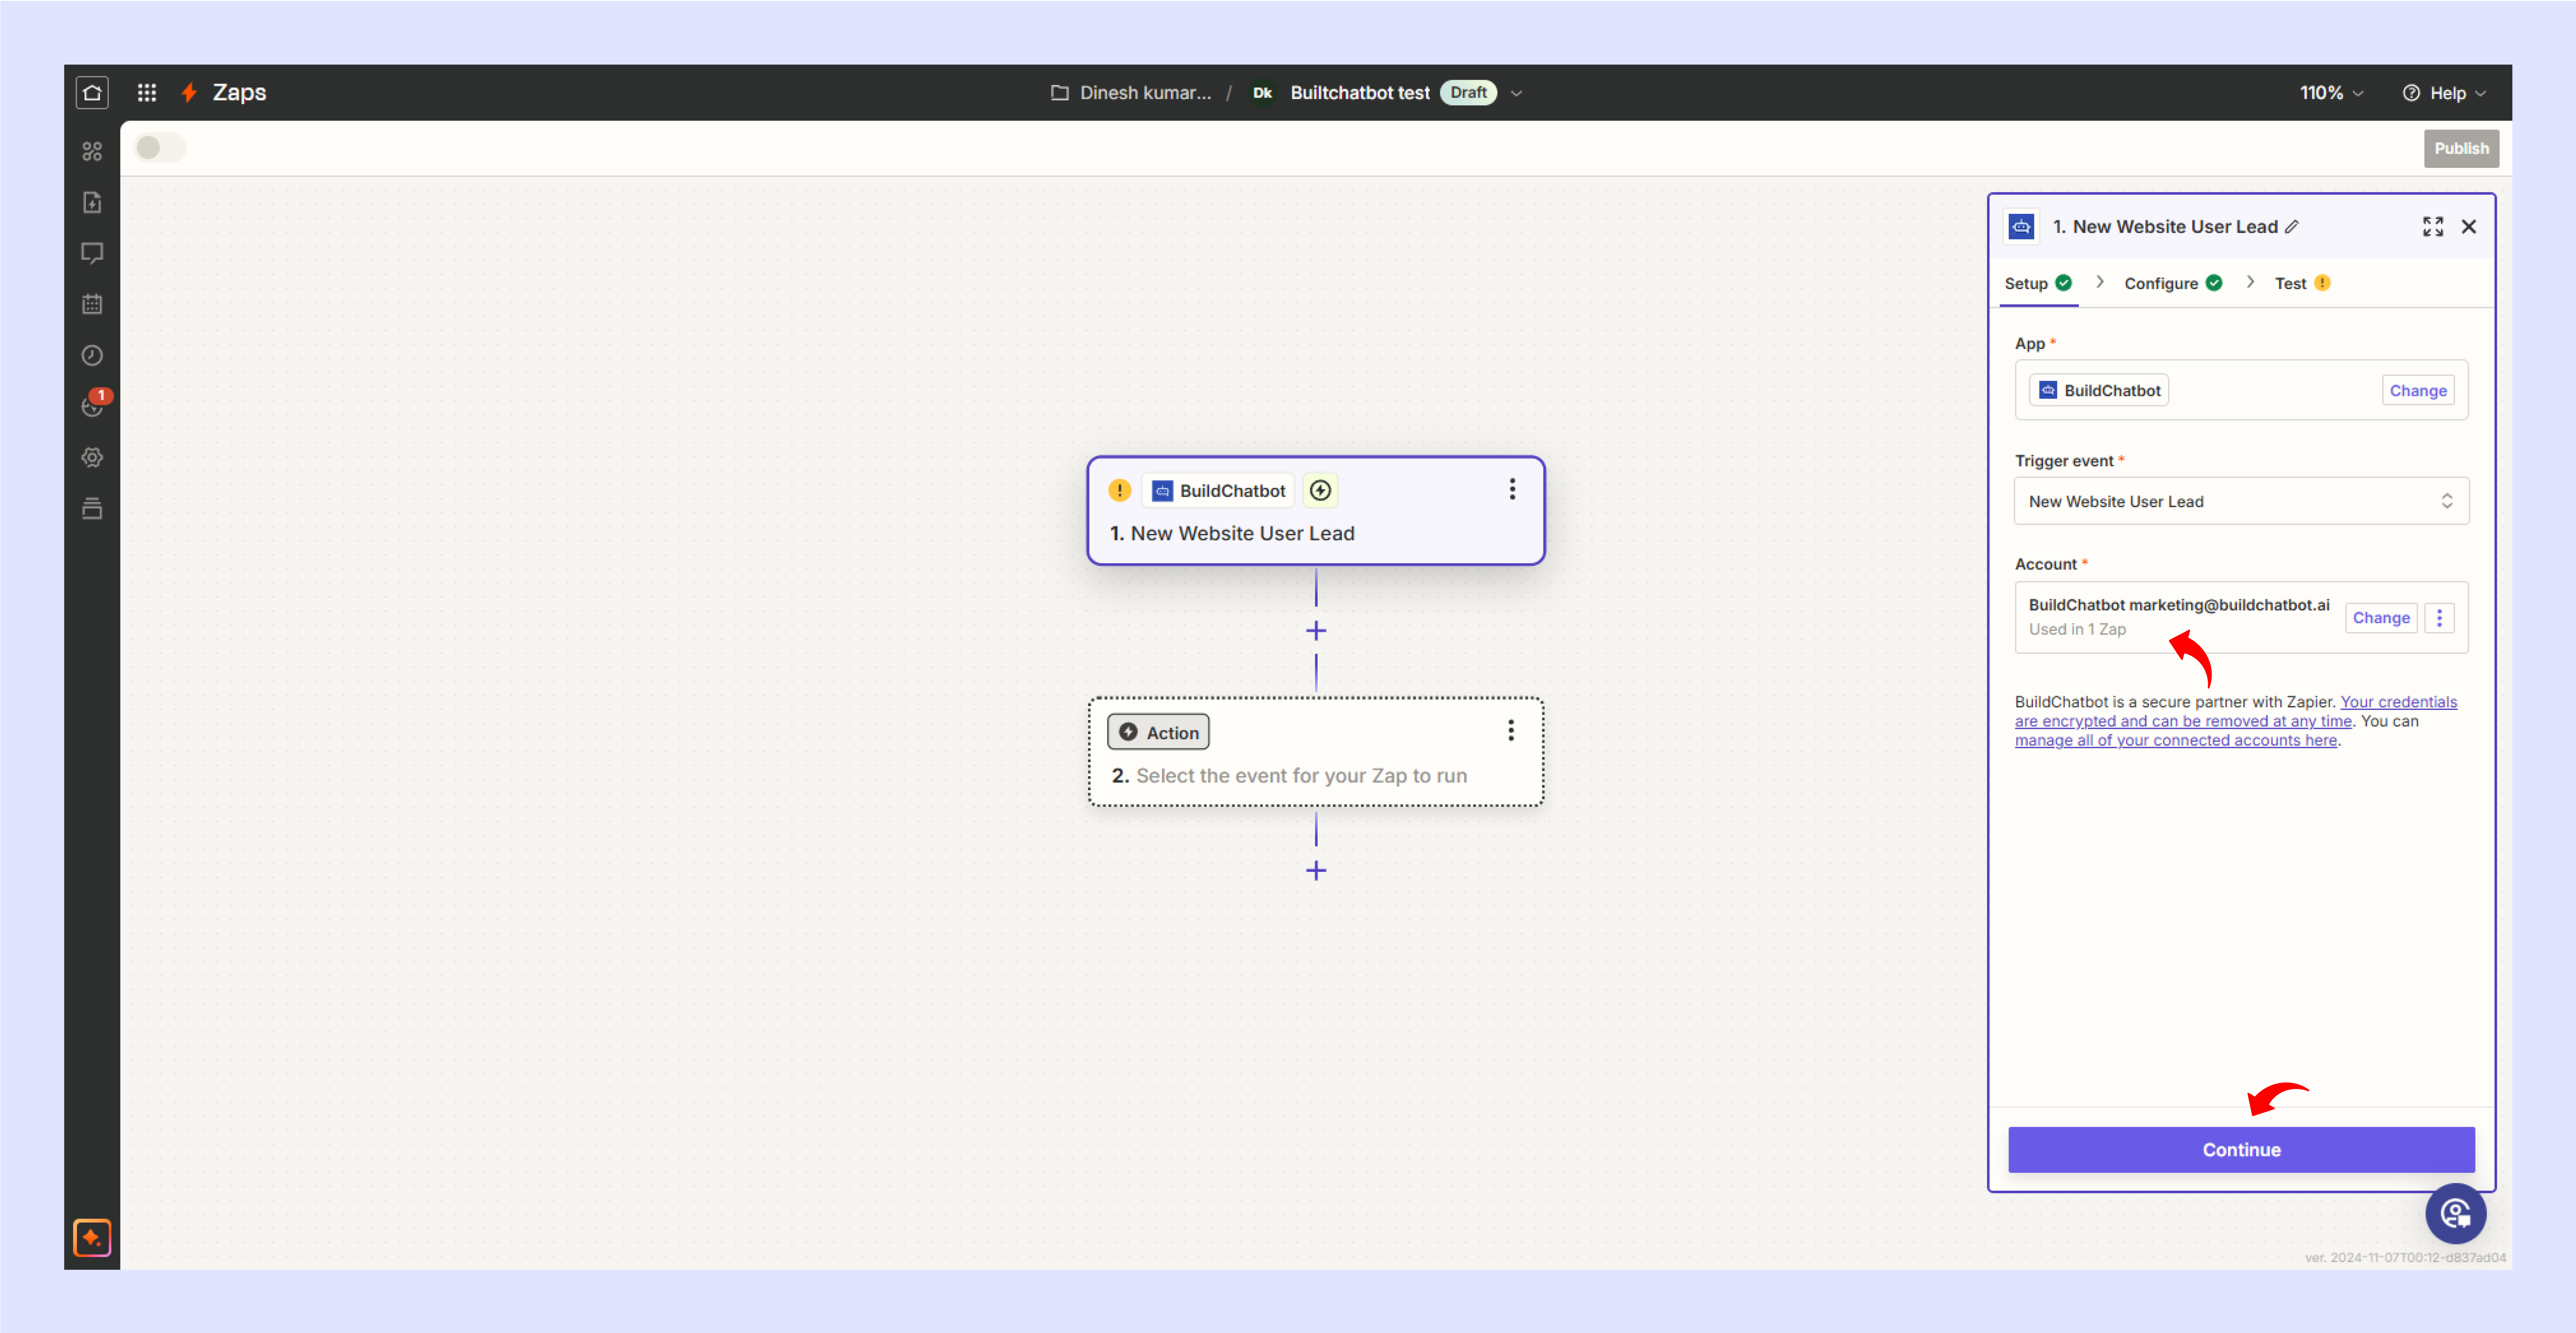
Account : Create a new account or Choose existing BuildChatbot account from the dropdown.

If Create a new account clicked, this will open a popup similar to the below snapshot, add BuildChabot login credentials(email & password)

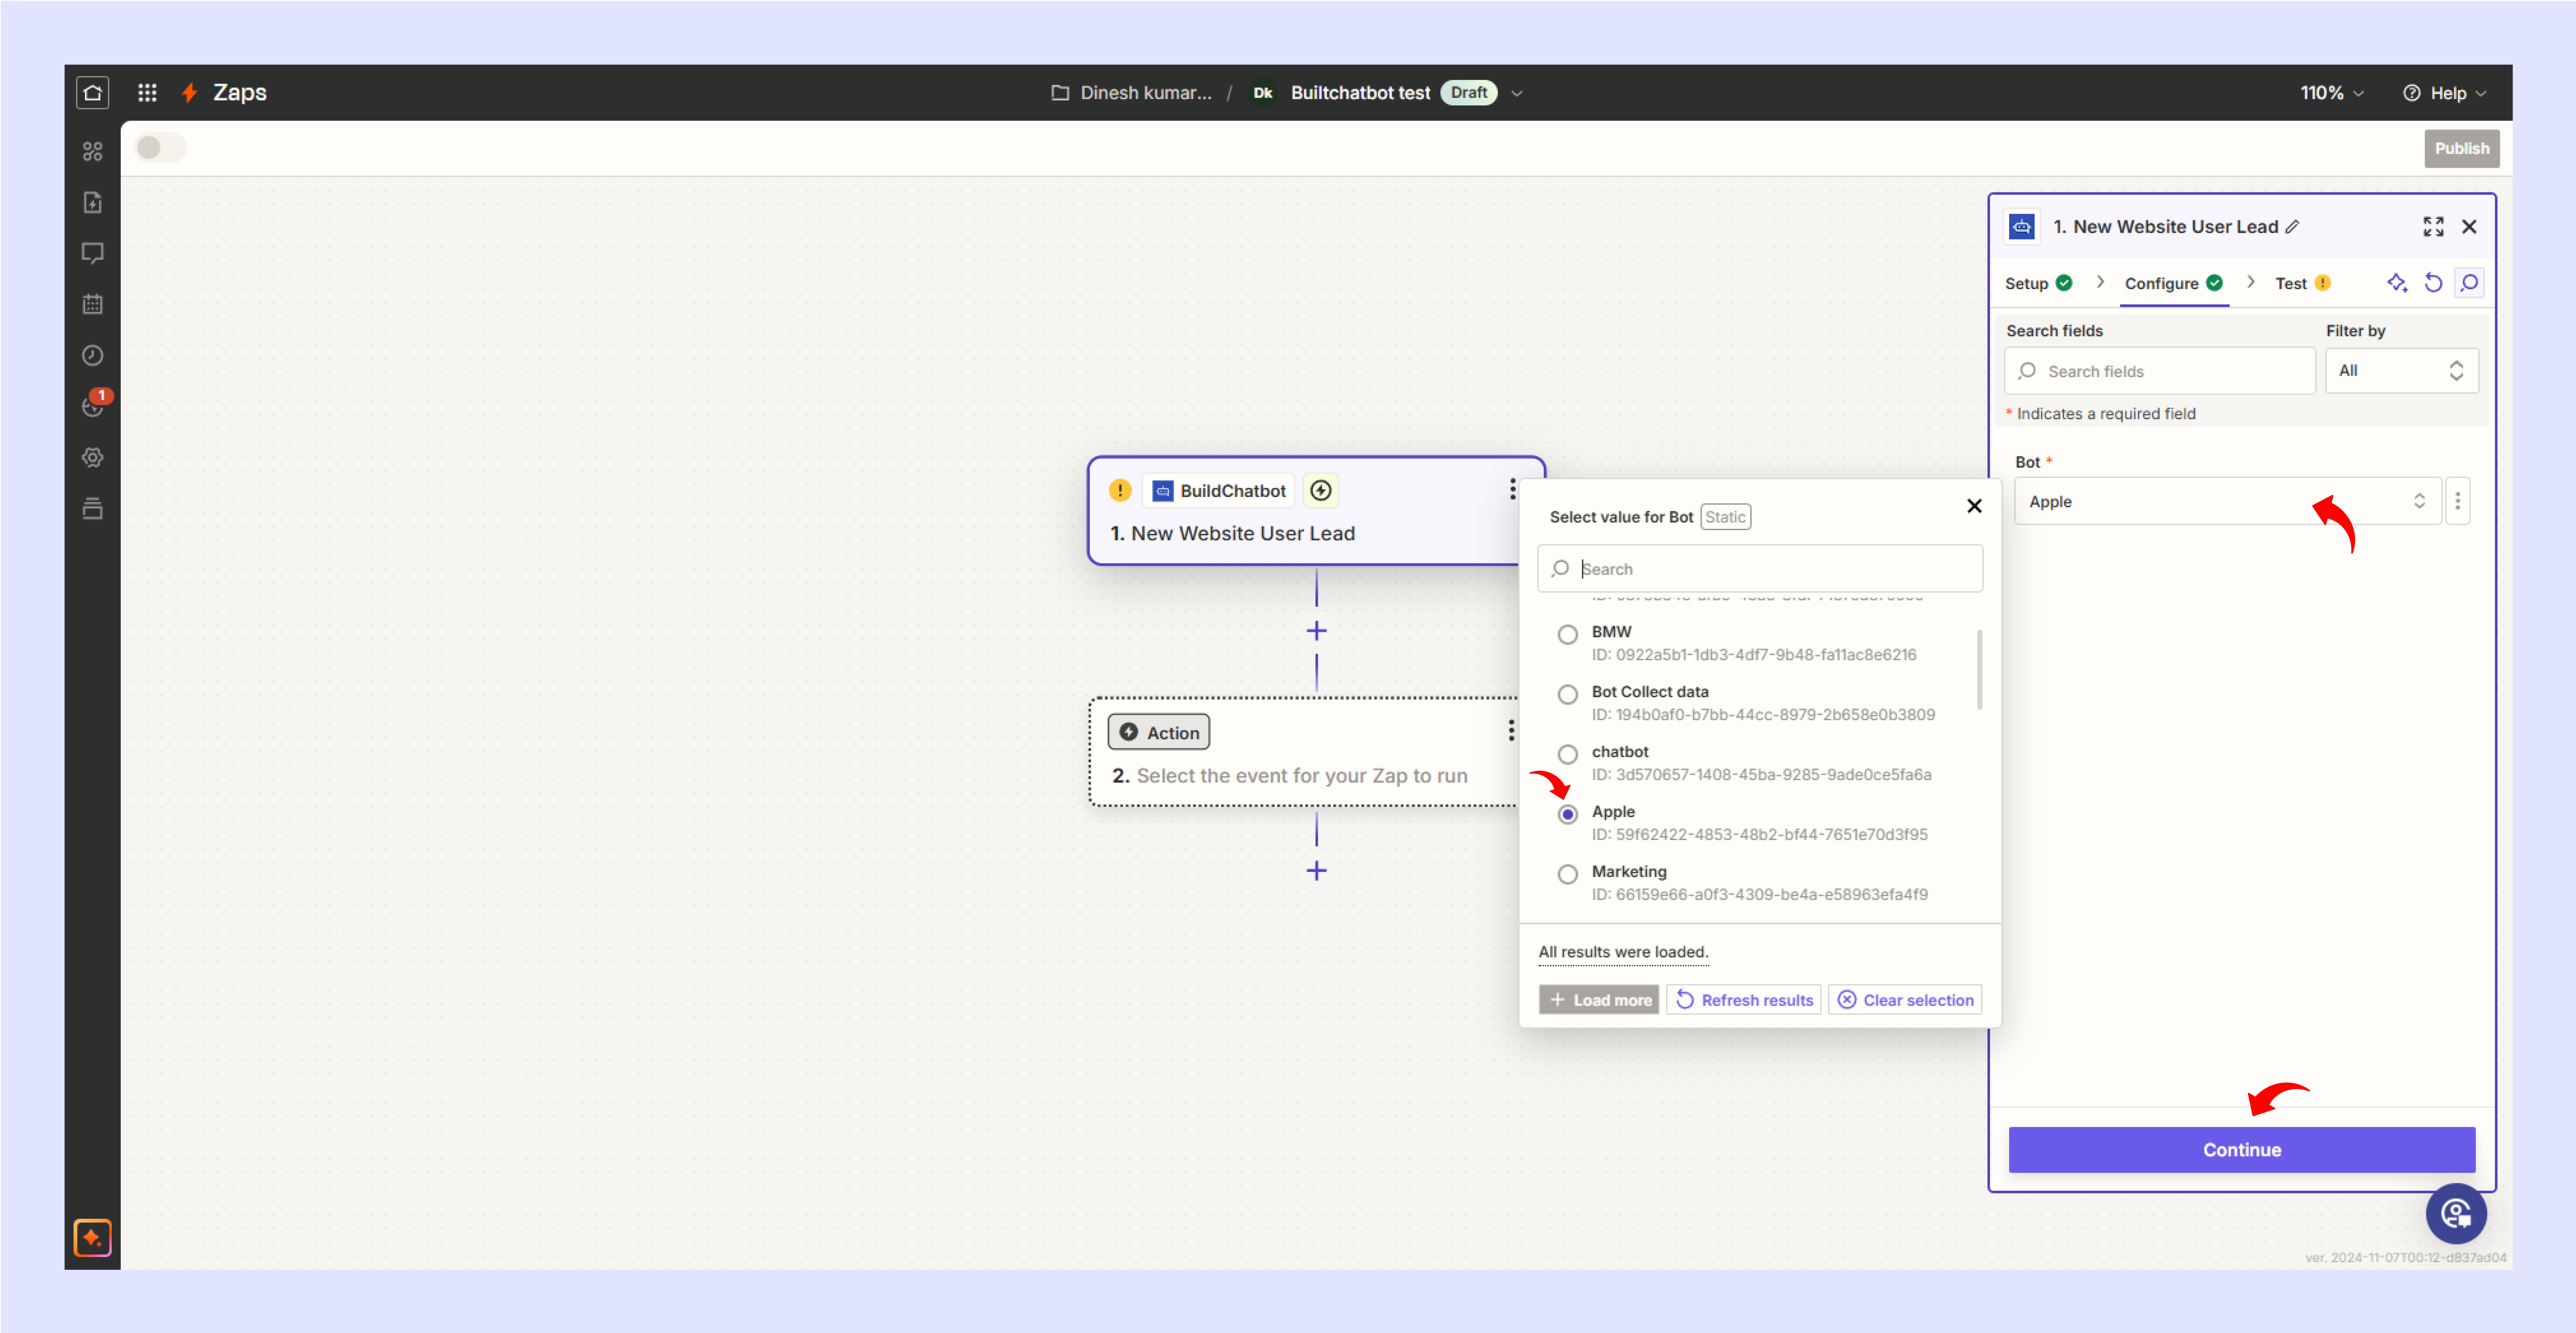
Under the Bot, you will see all the active bots mapped to the connect user tenant account, please select the Bot from the Dropdown to proceed.

After validating the credentials(email & password), popup will be closed & will redirect to this page automatically.

STEP 7

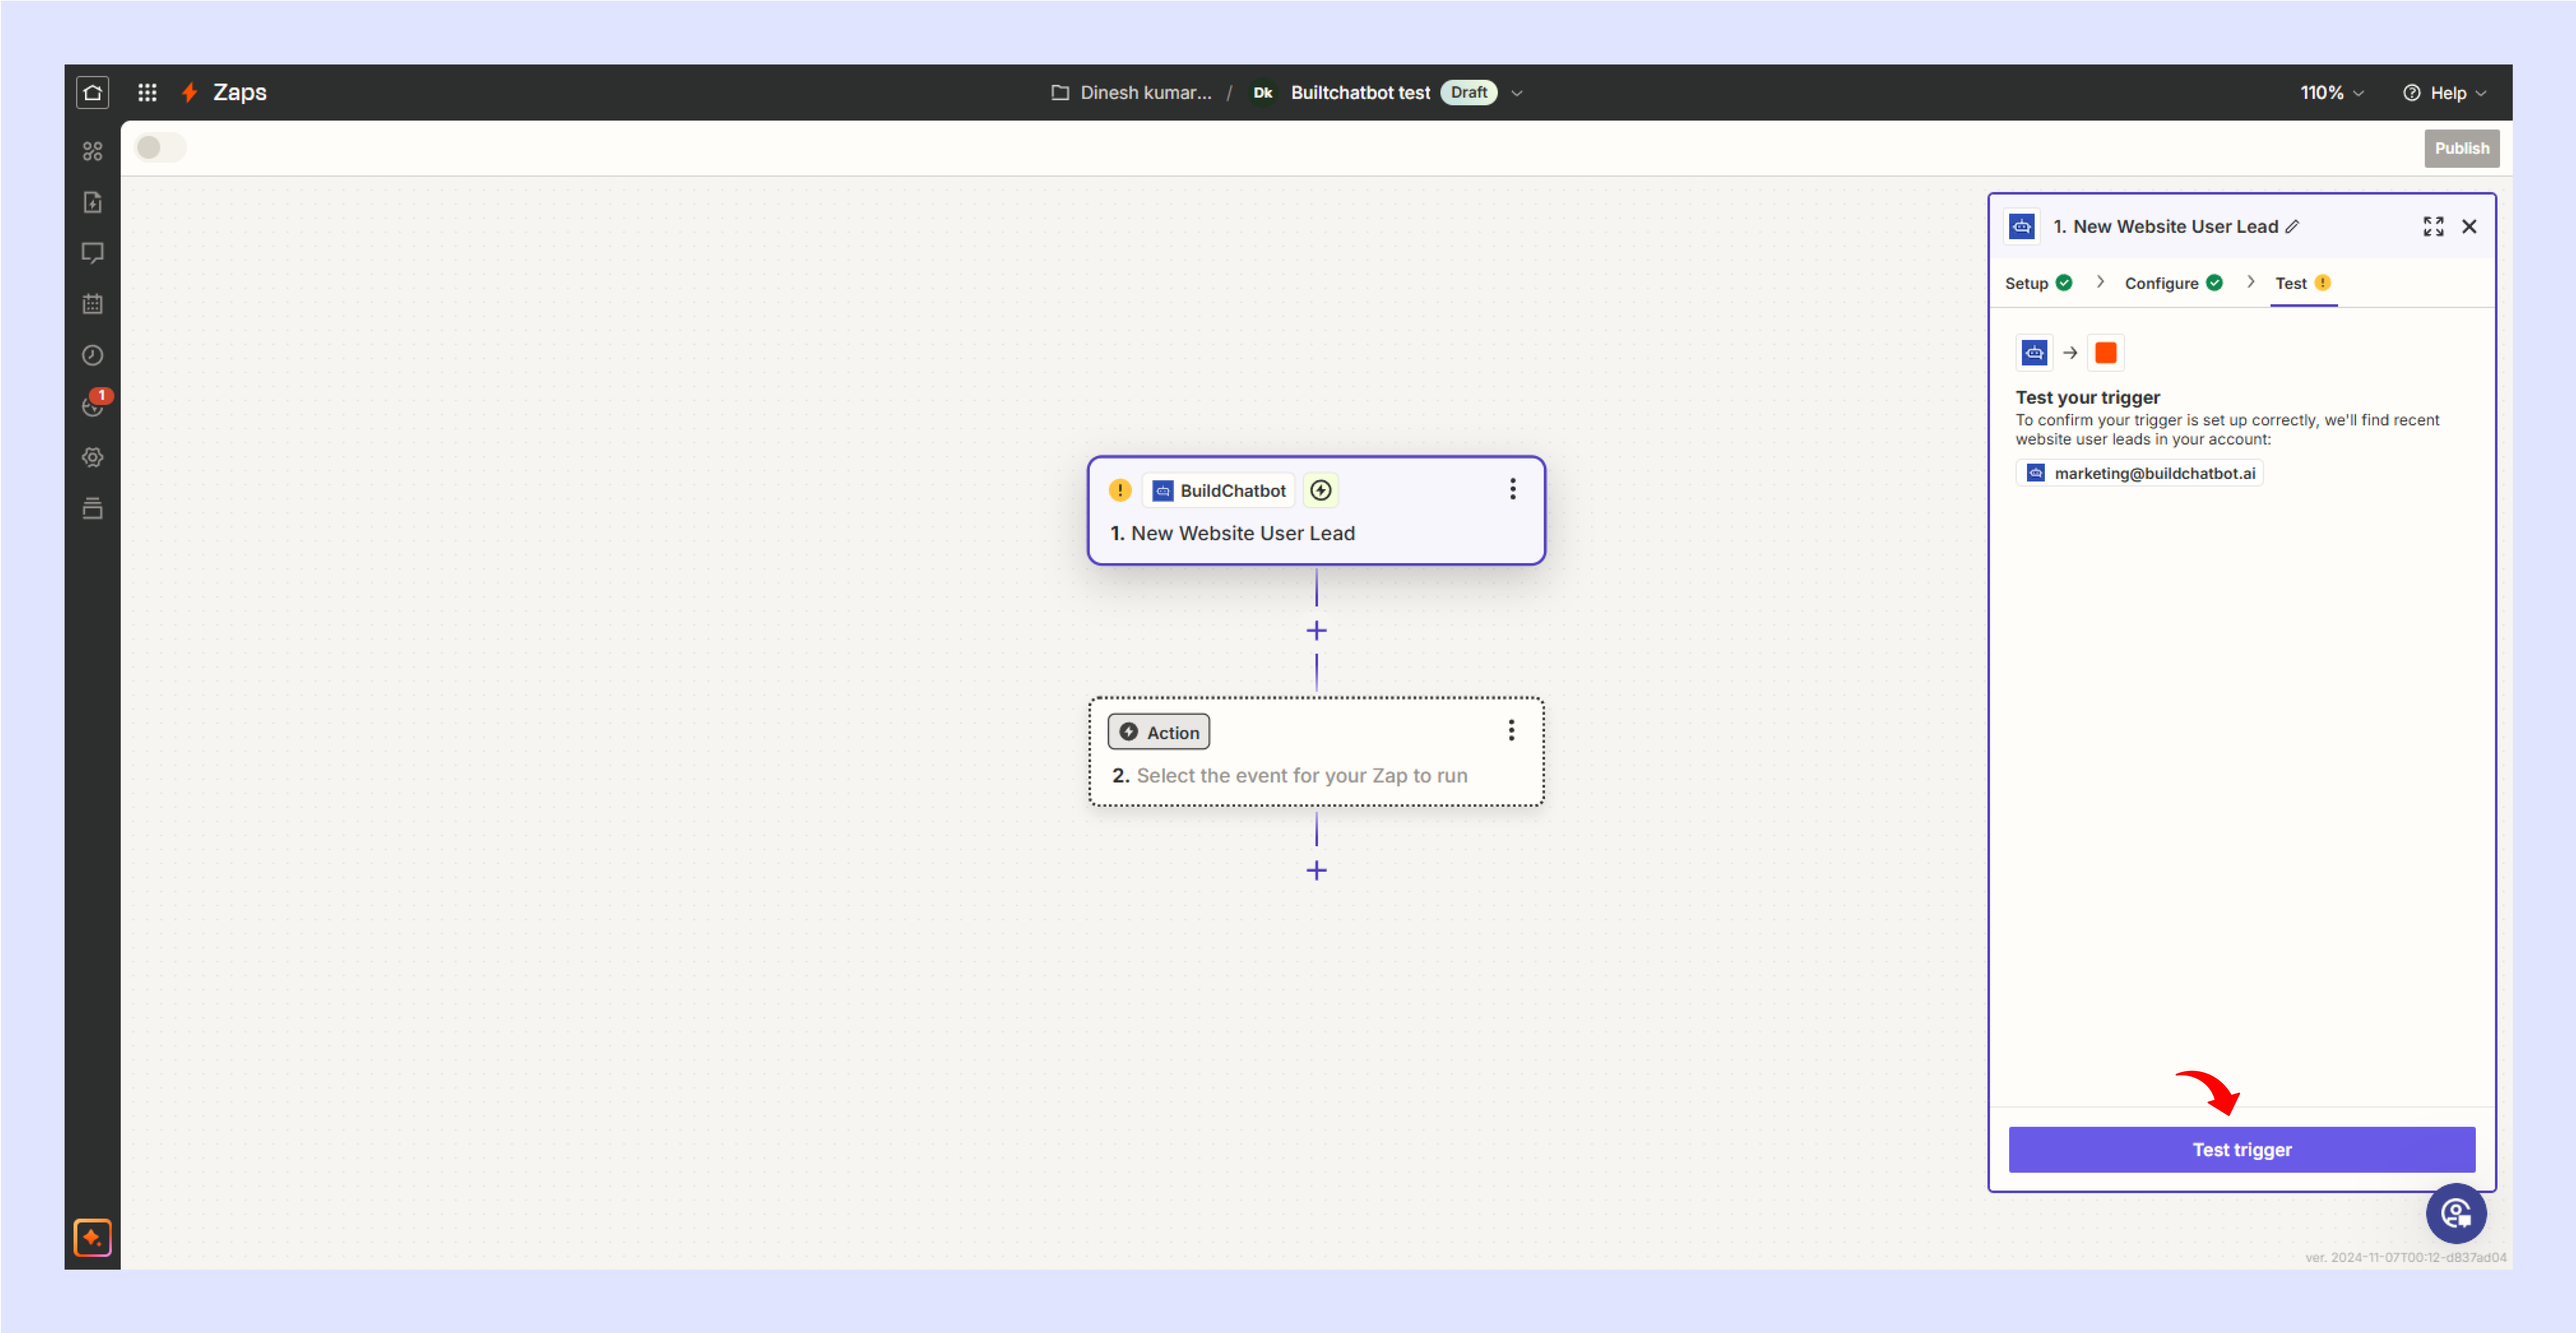
Test: Click Test Trigger on Zapier.

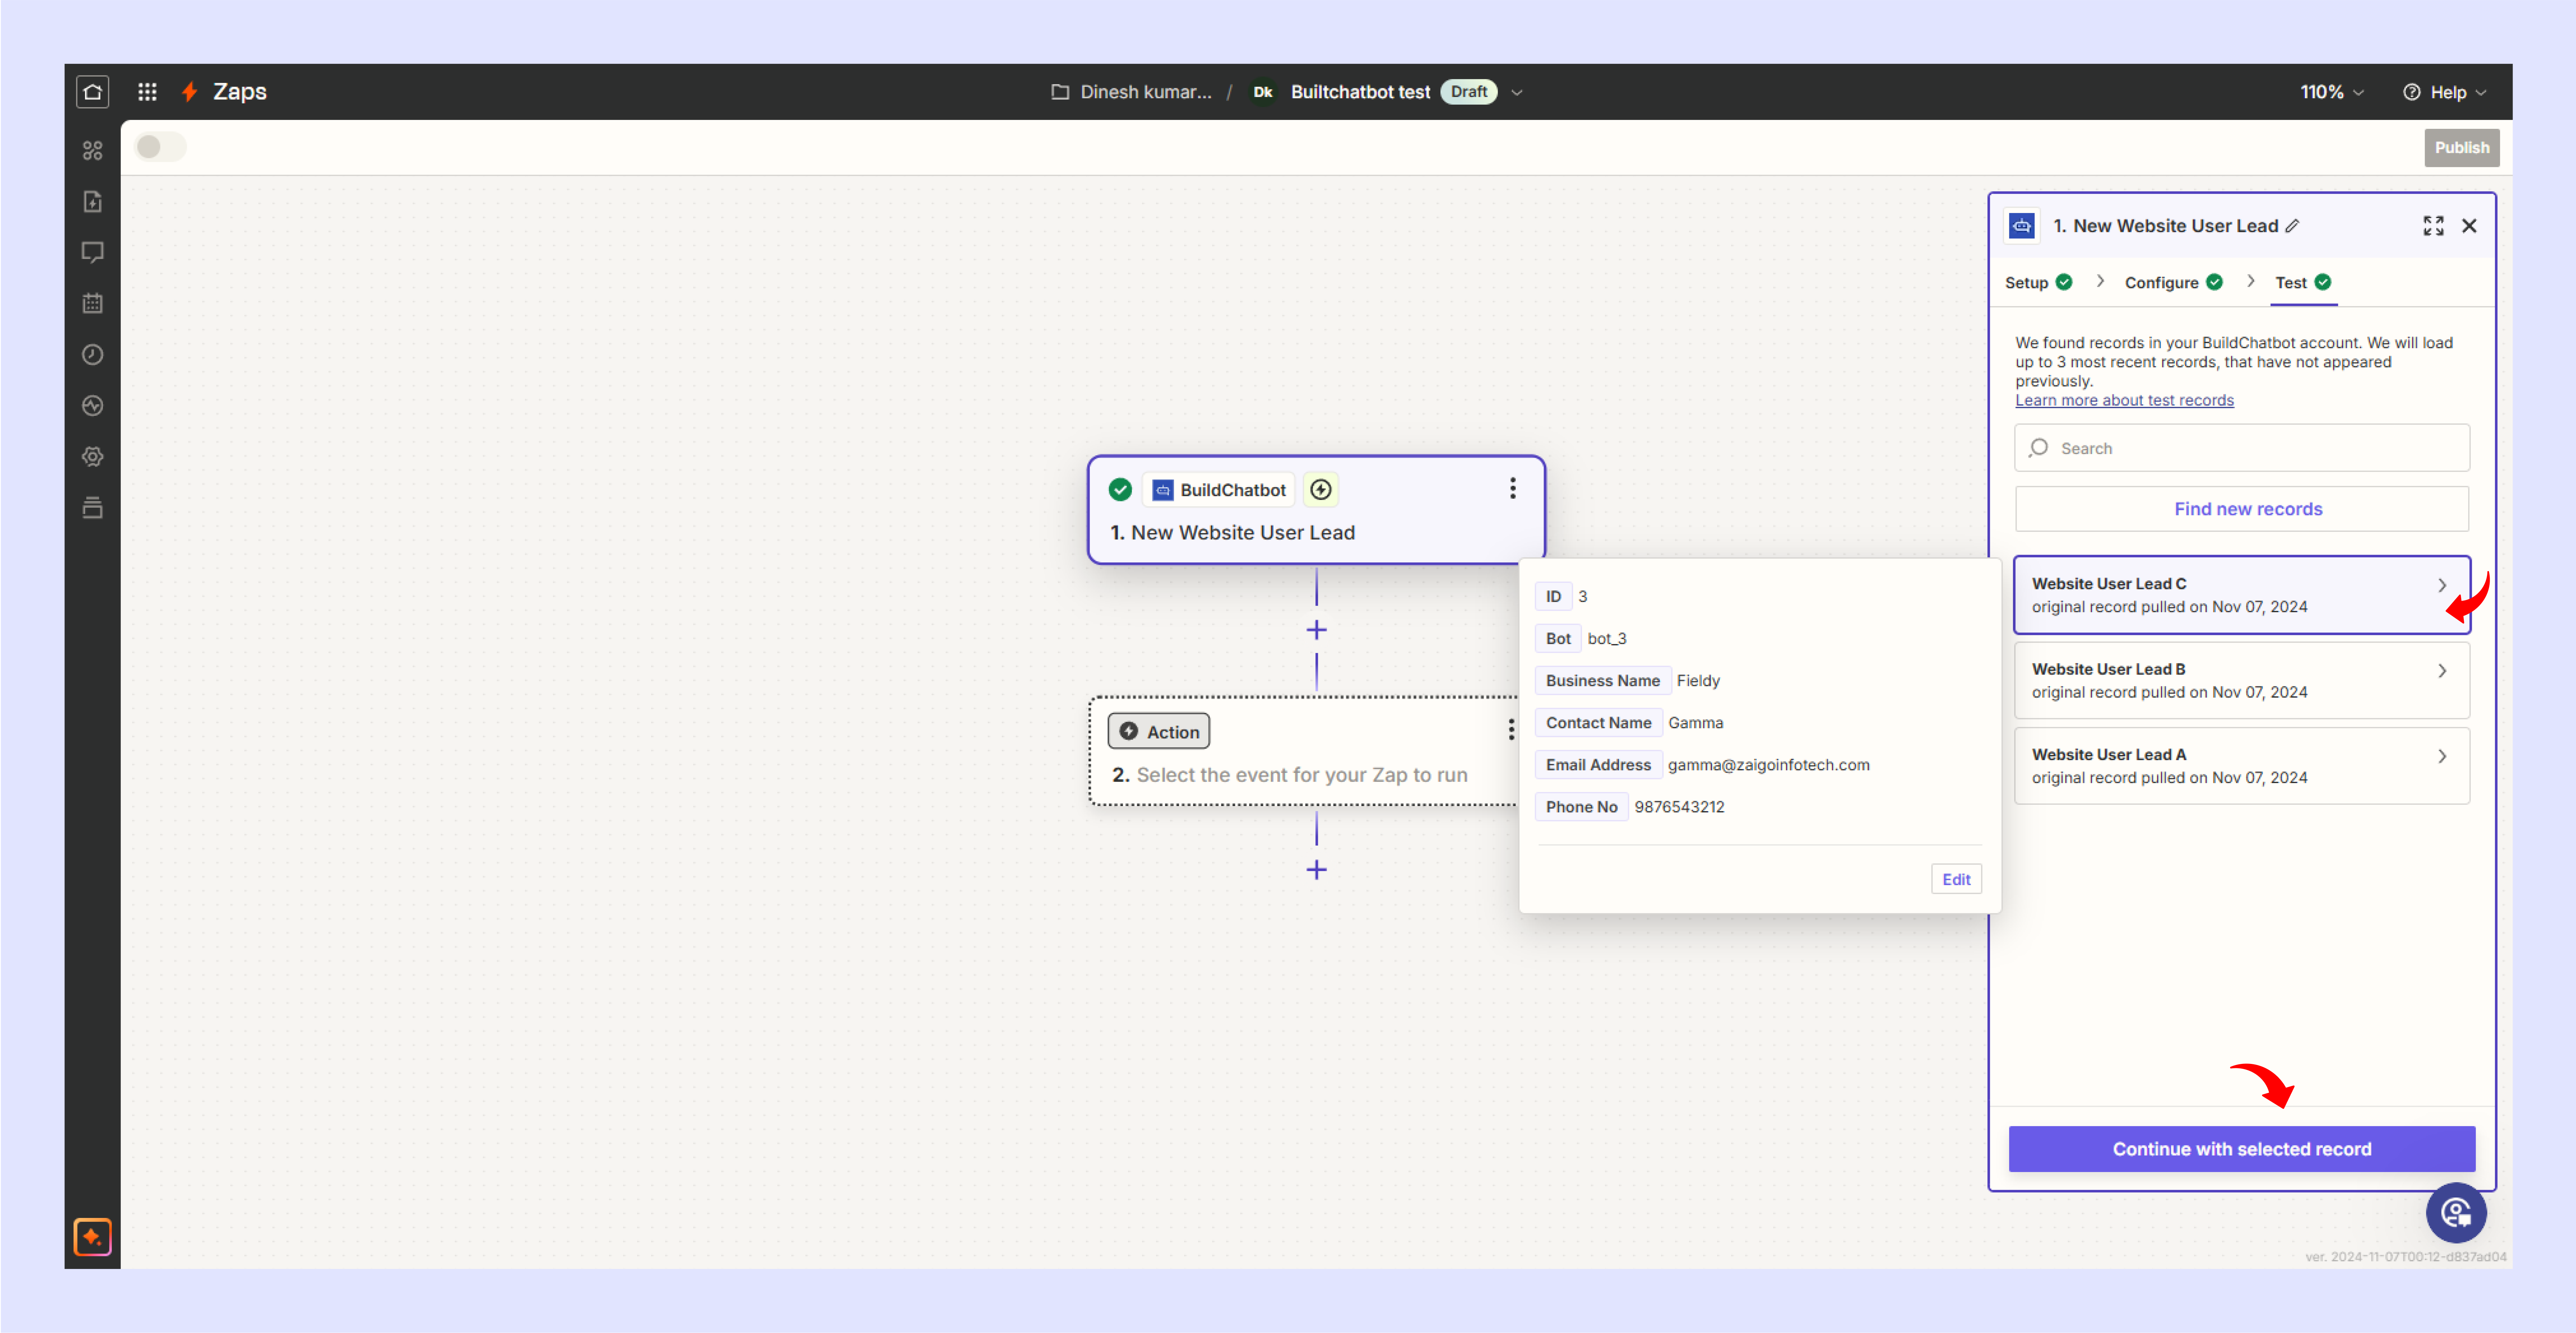
Once the test successfully completed you will see the event data like below, select a record & click Continue with selected record

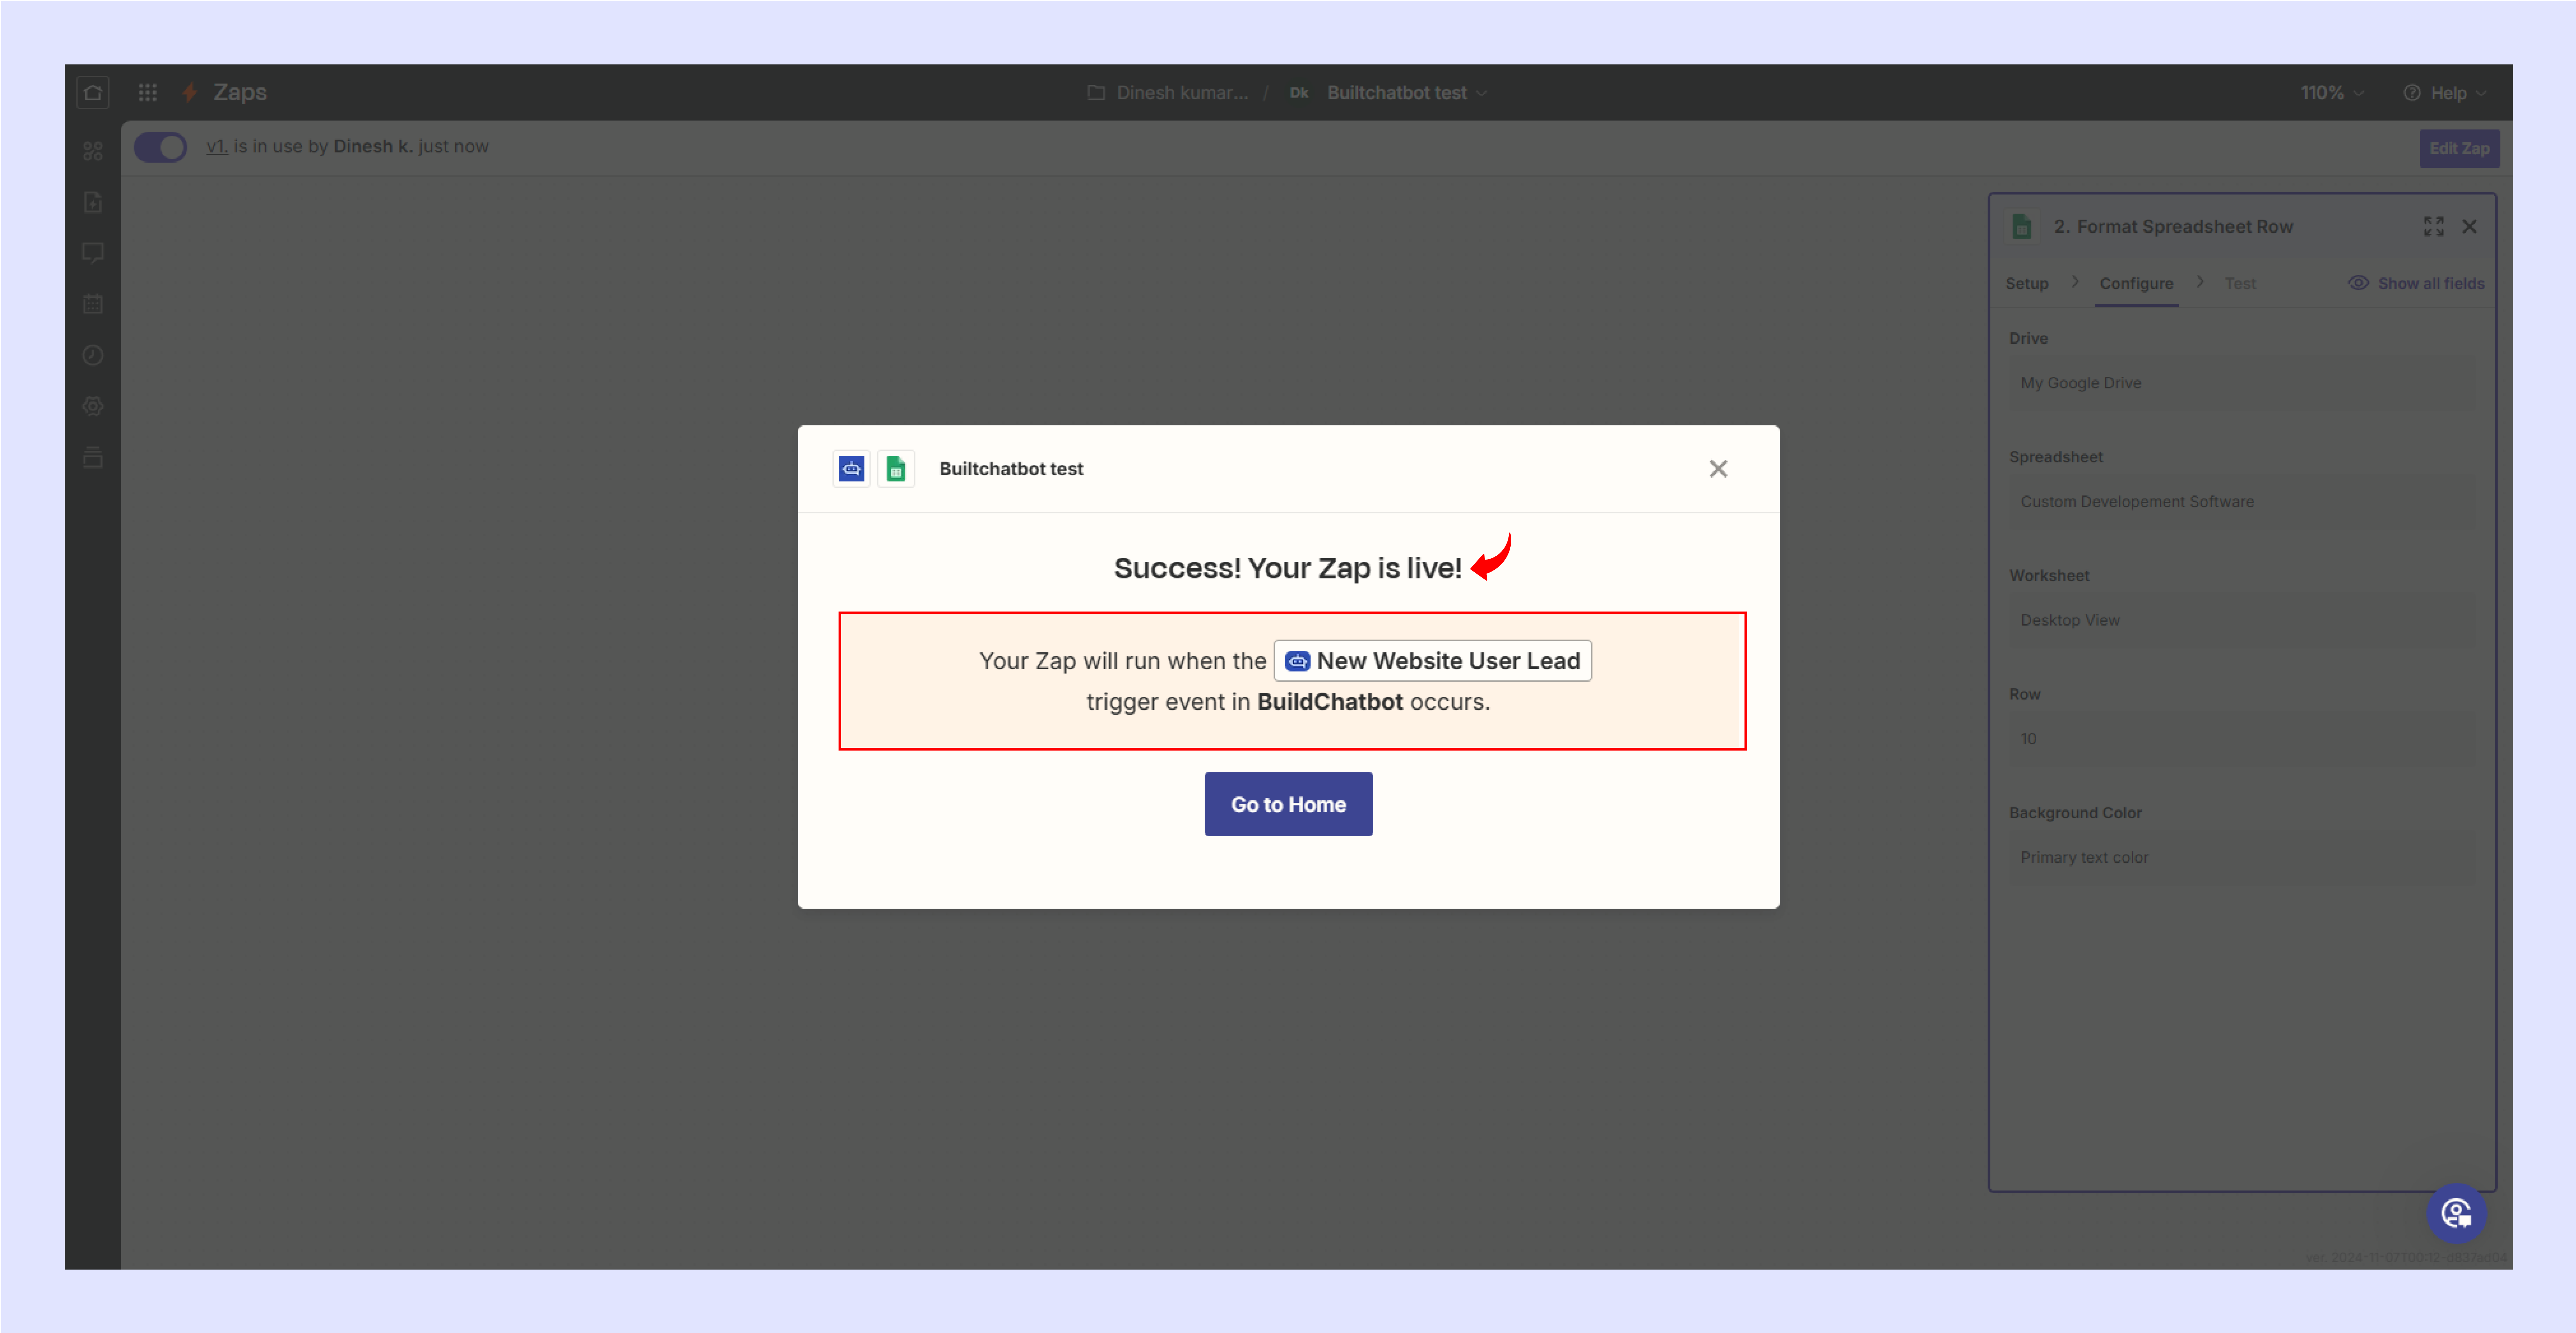
BuildChatbot added to the trigger successfully.

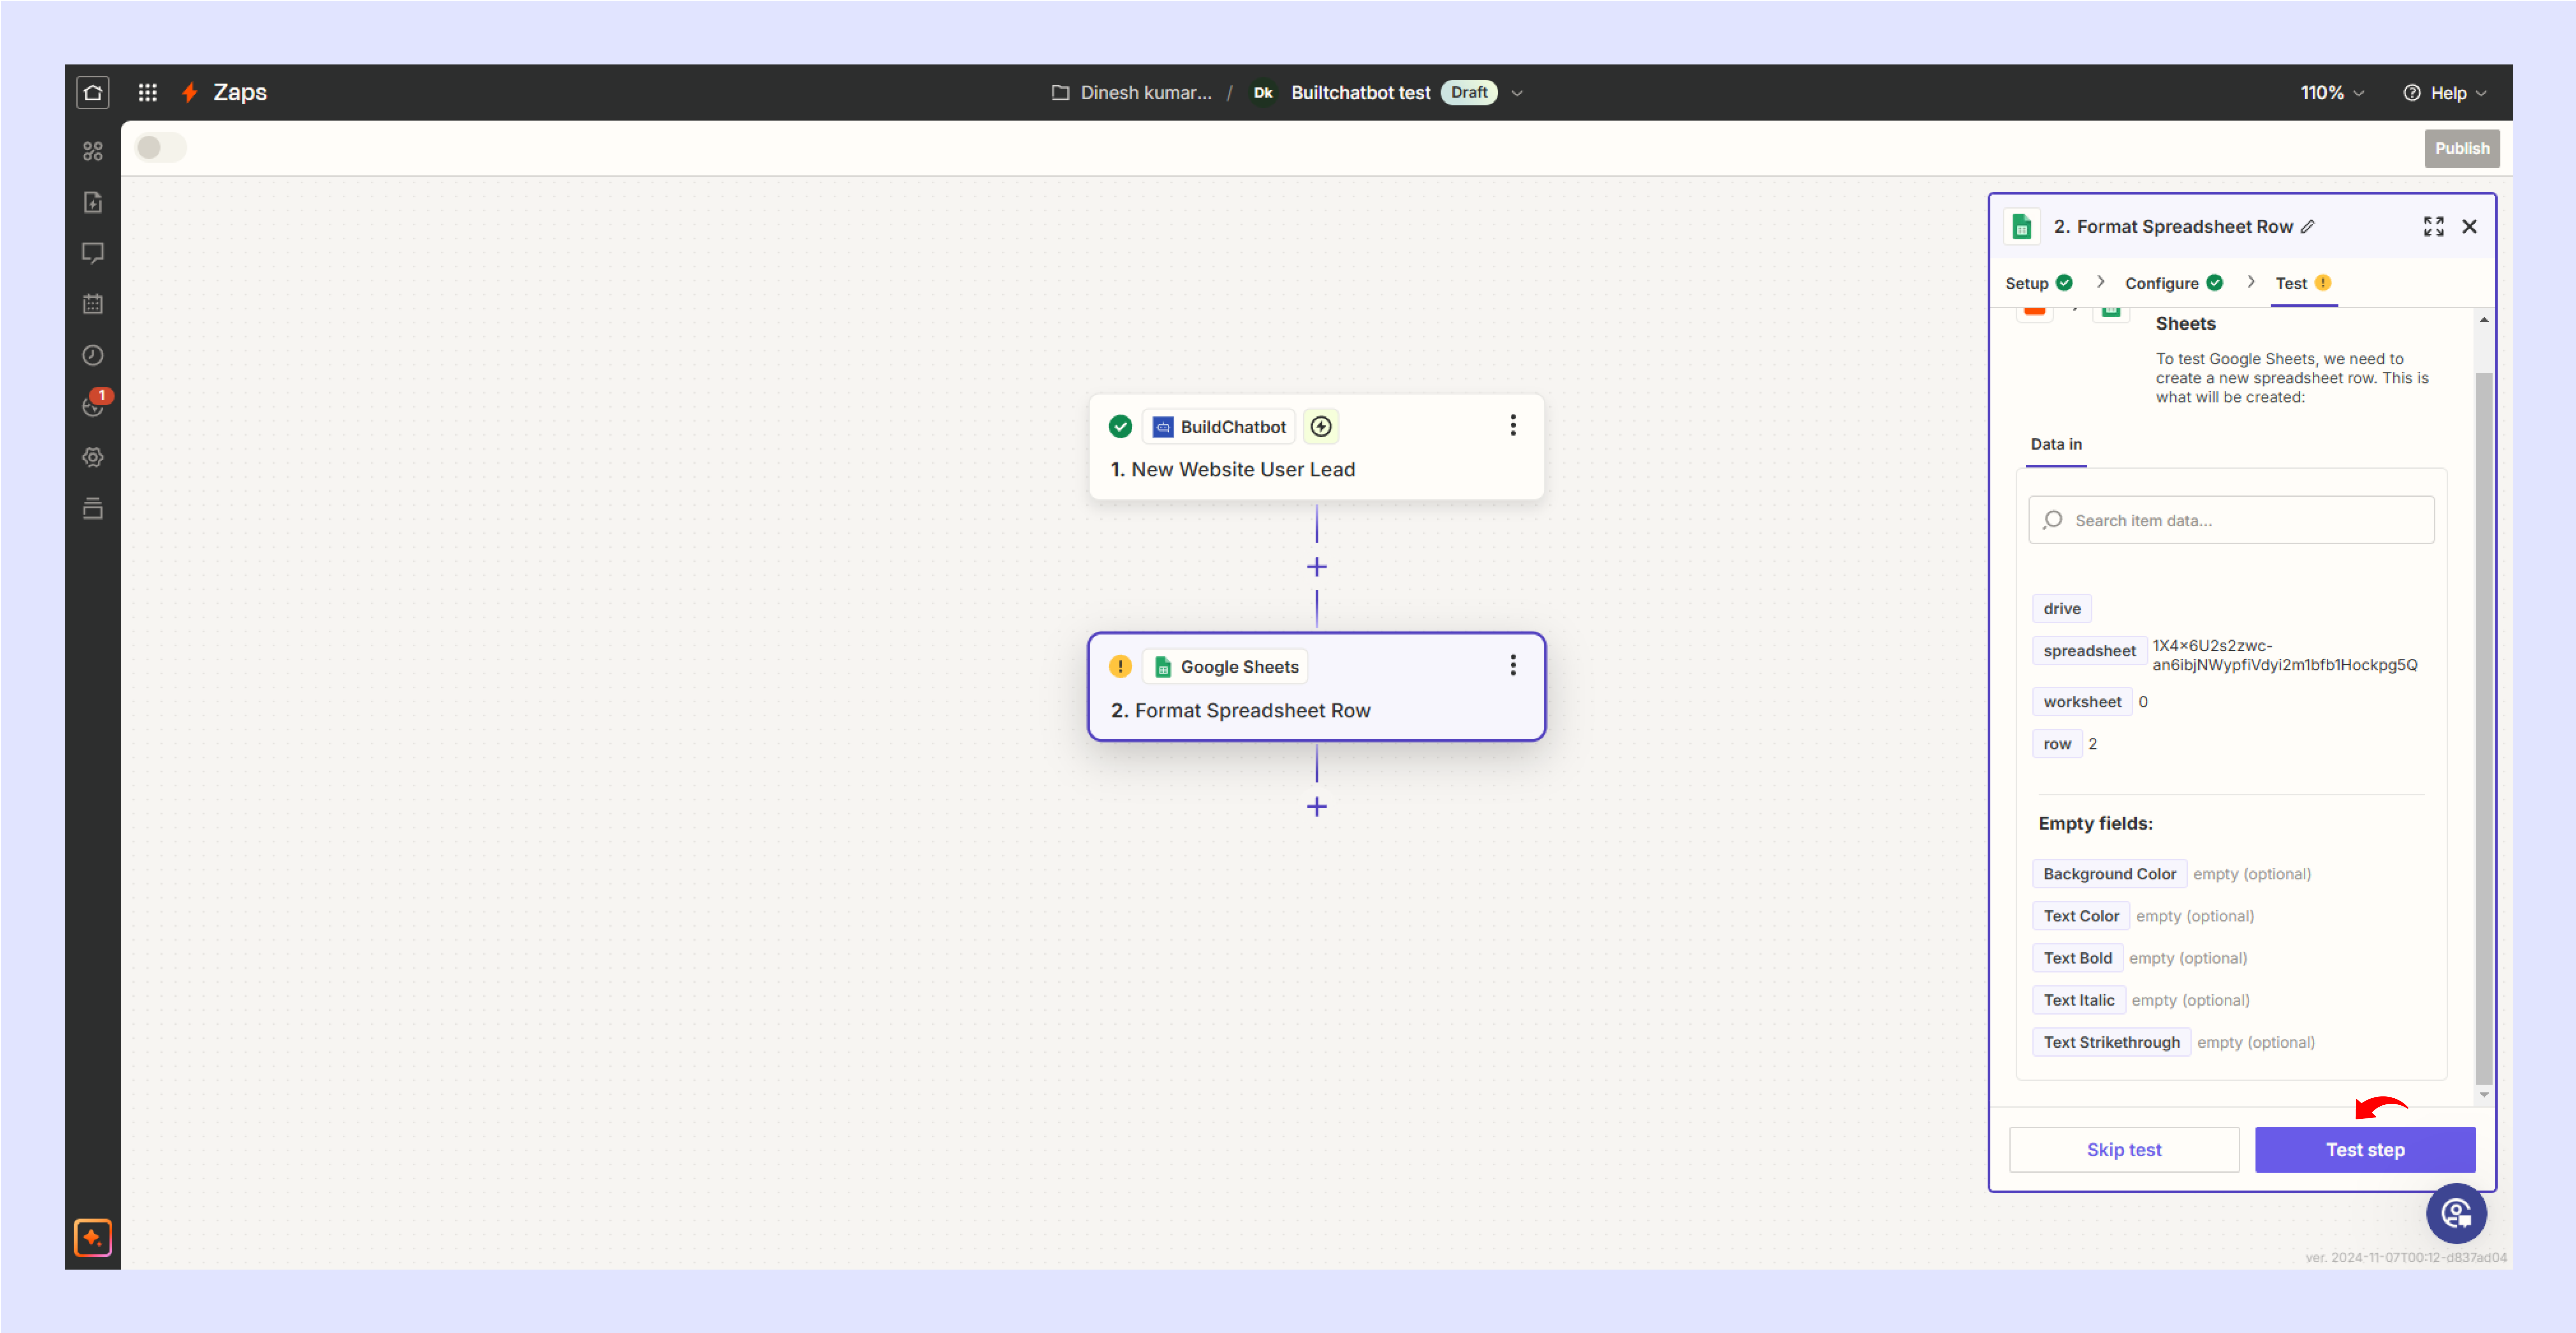
Action Configuration

Send Email
Watch the Tutorial Video

For a detailed walkthrough, check out the YouTube video below. It provides step-by-step instructions and helpful tips to guide you through the process of creating your first chatbot on Build Chatbot.